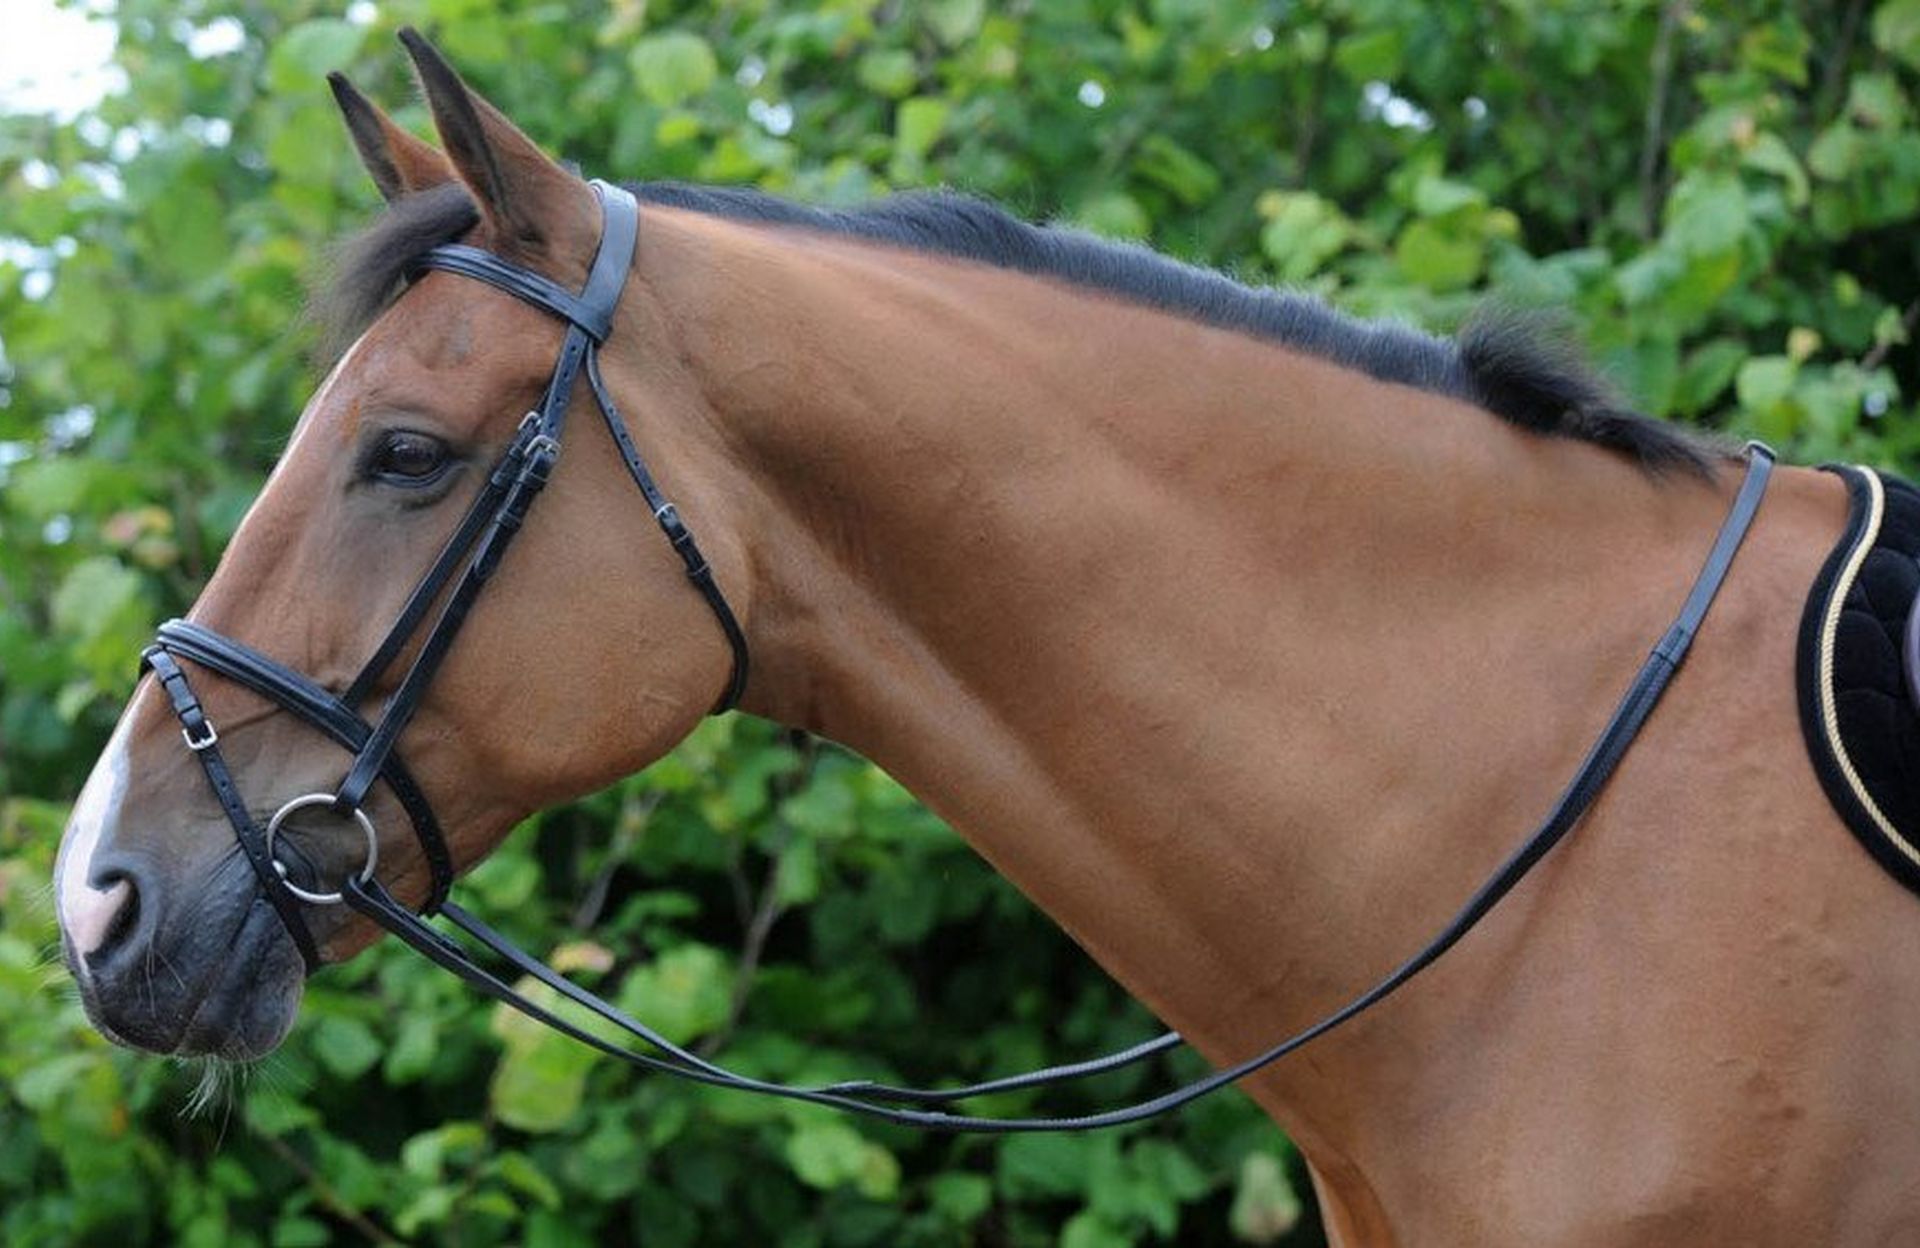
Lets talk tack! As equestrian, receiving a colourful new saddle pad or the latest print rug is pretty much the height of excitement. However, this means that all too often we put off replacing tired old tack. Thing is, while reins might not be revolutionary, they can have a big impact on how effectively we’re communicating with our horse! So, here we’re going to be taking a look at the different styles, when they’re used and how to take care of them properly!
Types and Styles
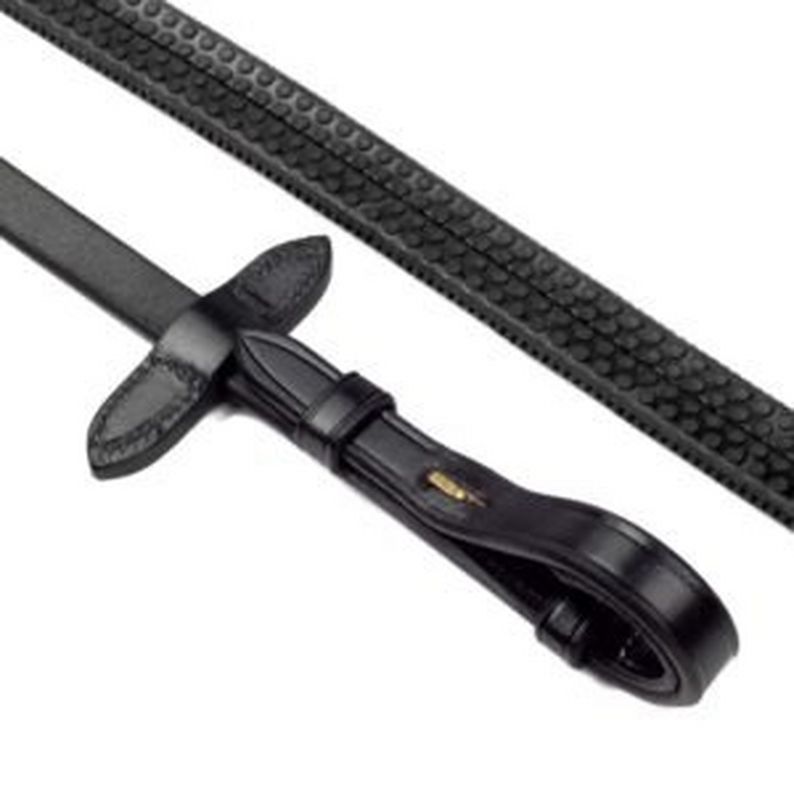
Rubber Reins
As the name suggests, rubber reins consist of a leather, webbing or synthetic material core, coated in textured rubber. Many of us associate these with bright colours and riding schools. However, they’re great for all levels of rider from beginners to showjumpers! They provide exceptional grip, even when wet. This can help us keep our reins even and our contact consistent.
One Sided Rubber Reins
Best described as a hybrid, one sided rubber reins feature a smooth leather outer with a textured rubber lining. These are often the choice of dressage riders. They’re elegant in appearance, while offering improved grip. A less bulky alternative to full rubber reins, they’re supple and flexible. This offers a better ‘feel’ and a softer connection between horse and rider.
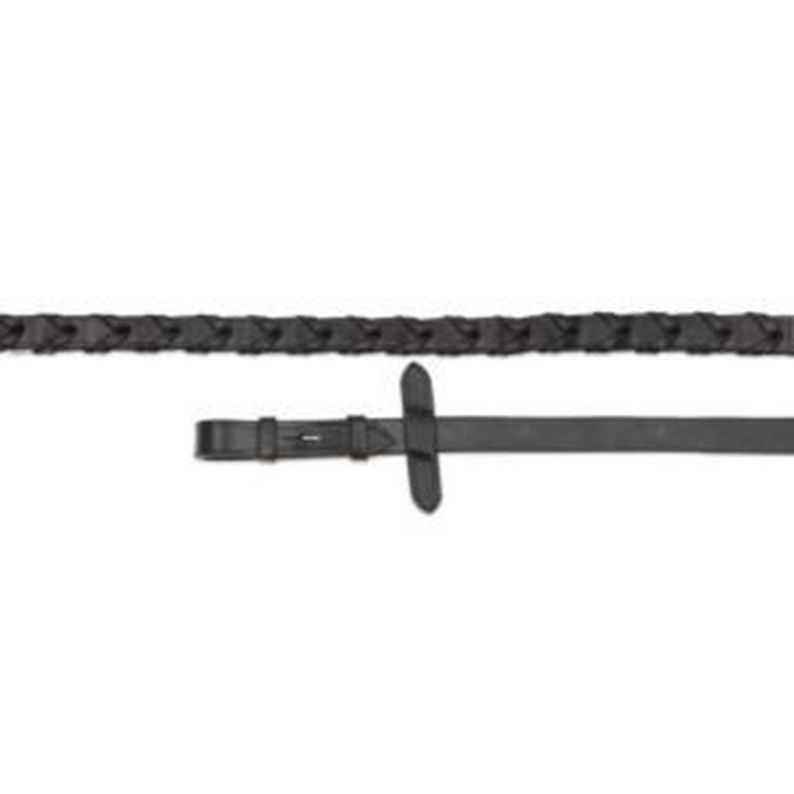
Plaited & Laced Reins
Pretty and practical, laced and plaited reins are often used for showing. Plaited reins are made by braiding 5 strands of leather, while laced reins feature central holes used to create a woven pattern. These styles are renowned for their classic appearance, with the added benefit of improved grip.
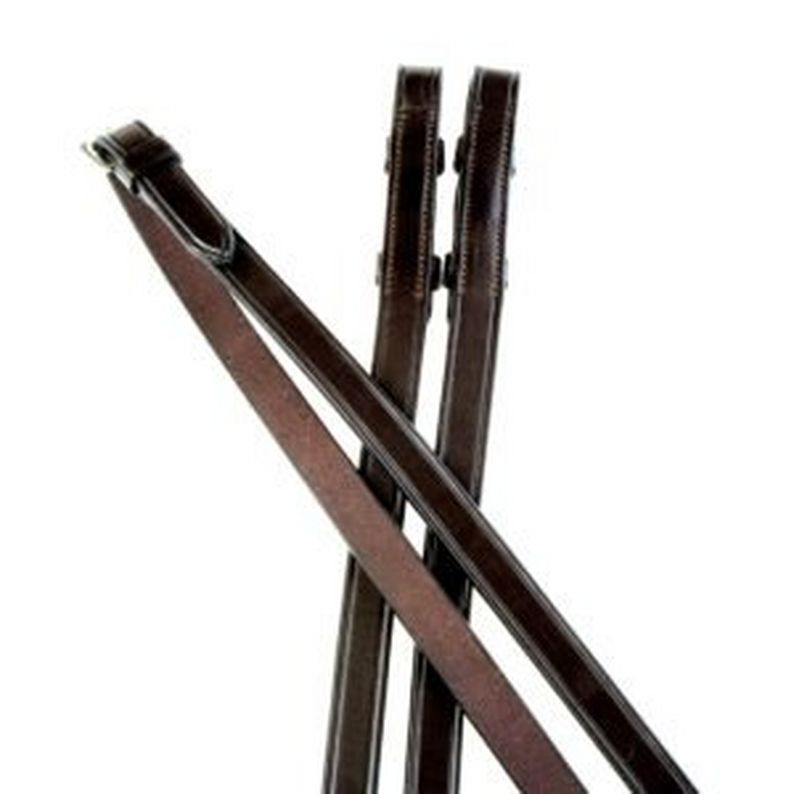
Plain Leather Reins
Smart, stylish and simple, plain leather reins are the most basic style. Don’t be deceived though, this doesn’t mean they’re the easiest to use! Uncoated and marker free, these are really only used by advanced and competitive riders. Supple, flexible and smooth, they allow for quick adjustments, a soft contact and precise rein aids.

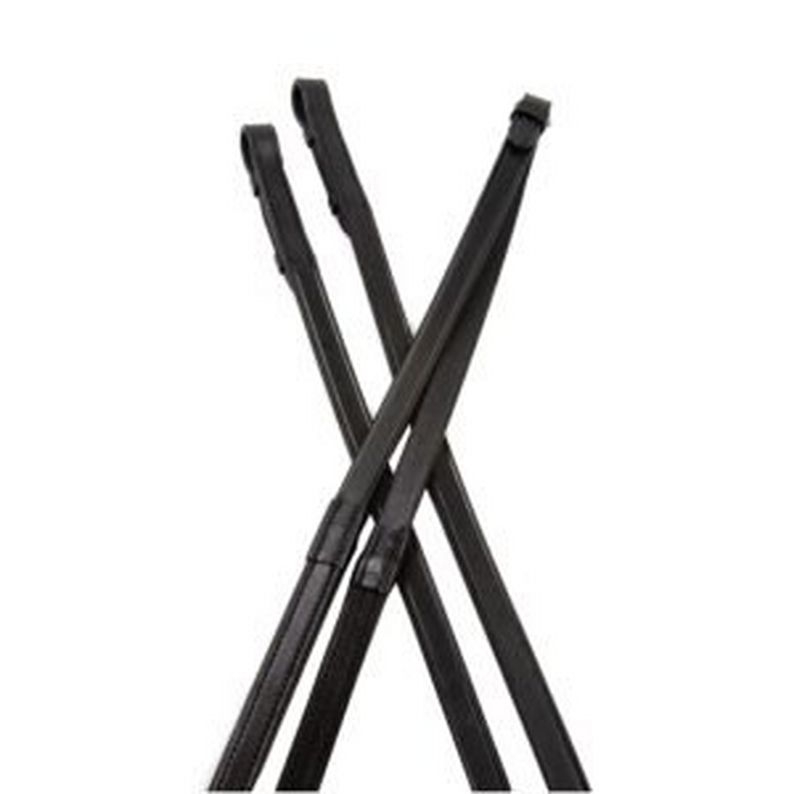
Continental Reins
Continental or web reins are arguably the most common style. They're made using webbing, with incremental markers. Used by many of us for everyday riding, their texture provides grip to prevent them slipping through our fingers, while the markers ensure they stay even and the correct length.
Care & Maintenance of Reins
Leather
Almost all reins will feature some leather. So, no matter which style yours are, you’ll need to know this! It’s really important to clean your reins after every use. If we don’t take care of our reins, sweat and grease from our horses can leave the leather dry, brittle and at risk of breaking. Not only is this dangerous, it means we may need to resort to heavy conditioners and oils. Ideally, we want to avoid this as they can make the leather slippery and hard to grip. So, we’d recommend picking a residue free 2-in-1 product that cleans and lightly conditions in one step.
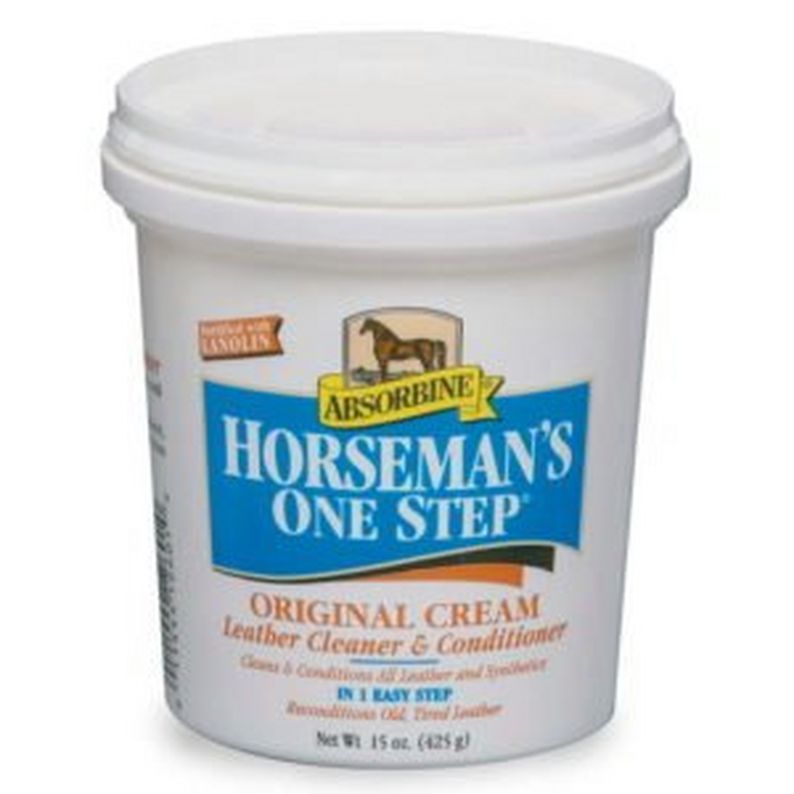
Horseman's One Step
RRP £11.99
- For use on leather & synthetics.
- Cleans & conditions.
- Restores shine.
- No water needed.
Rubber
Extremely grippy, it's not just our hands that stick to rubber, but dirt and grease too! This means they will require regular cleaning. Thankfully though, it's easy! After each ride, wipe the coating over with warm water and a sponge. When you're preparing for a show or tackling a deep clean, dig out an old tooth brush or a Magic Brush and some mild soap. This is great for removing engrained muck in those hard to reach spots. Avoid getting your reins too wet, if there's any damage to the rubber the water may seep through and compromise the core.
Webbing
Much like a carpet that’s always being walked on, webbing reins are good at hiding dirt deep within the fibres. The temptation is to throw them in a bucket of water but proceed with caution! While the main body may be webbing, the ends and centre are likely leather! So, start by unfastening them from the bit and undoing the middle buckle. Holding the leather sections at either end, submerge only the webbing in warm water and then agitate. If they’re particularly mucky you can add a small amount of non-bio handwashing liquid or mild soap. It’s best to use your hands to rub the fabric. While brushes may be quicker, they’re also harsher, risking damage.
When To Replace Your Reins
None of us want to lose our breaks or steering mid way through a ride, right? In fact, we’d go as far as saying, it’d be a total nightmare. The reality is though, if our reins were to break, that’s exactly the position we’d be in. So, it’s really important that we keep our eyes peeled for any damage or wear. Here’s a few signs your reins may be ready for replacing:
- Damaged stitching.
- Cracked leather.
- Stretching or uneven length.
- Flaking rubber.
- Rust.
- Loose or damaged fittings.
Fitting Guidance
| Horse Size | Rein Length |
|---|---|
| Small Pony | 42" |
| Pony | 48" |
| Cob | 52" |
| Full / Standard | 54" |
| Extra Full | 60" |
This is a rough guide, no two horses or ponies are exactly the same!
We hope you’ve found our reins guide helpful. If you have any questions you can comment below or give our customer service team a call on 01706 507555. You can shop the products in this blog at www.naylors.com or in-store. Don’t forget, if you make a purchase you can share your pictures with us in the comments or include #NaylorsSnapAndShare on your social posts!