Could a lunging system help your horse? Over recent years more and more of us have started to move away from traditional training aids, known for focusing purely on the horse’s head. In search of different approaches, we’re opting for an alternative that acts on the whole body. By definition a training aid is “Any item developed or procured with the primary intent that it shall assist in training”. Used correctly, for the right reasons, they can help us to bring the best out of our horses! The key is to choose the right option, understanding why and how to use it properly. Here we’re going to be taking a look at lunging systems.

What are lunging systems?
We all know that just because our horses head and neck are in the desired position, this doesn’t mean they’re working in an outline correctly! All too often horses display a forced, fixed position, resulting in a hollow back, short strides, tension and reluctance to move forward.
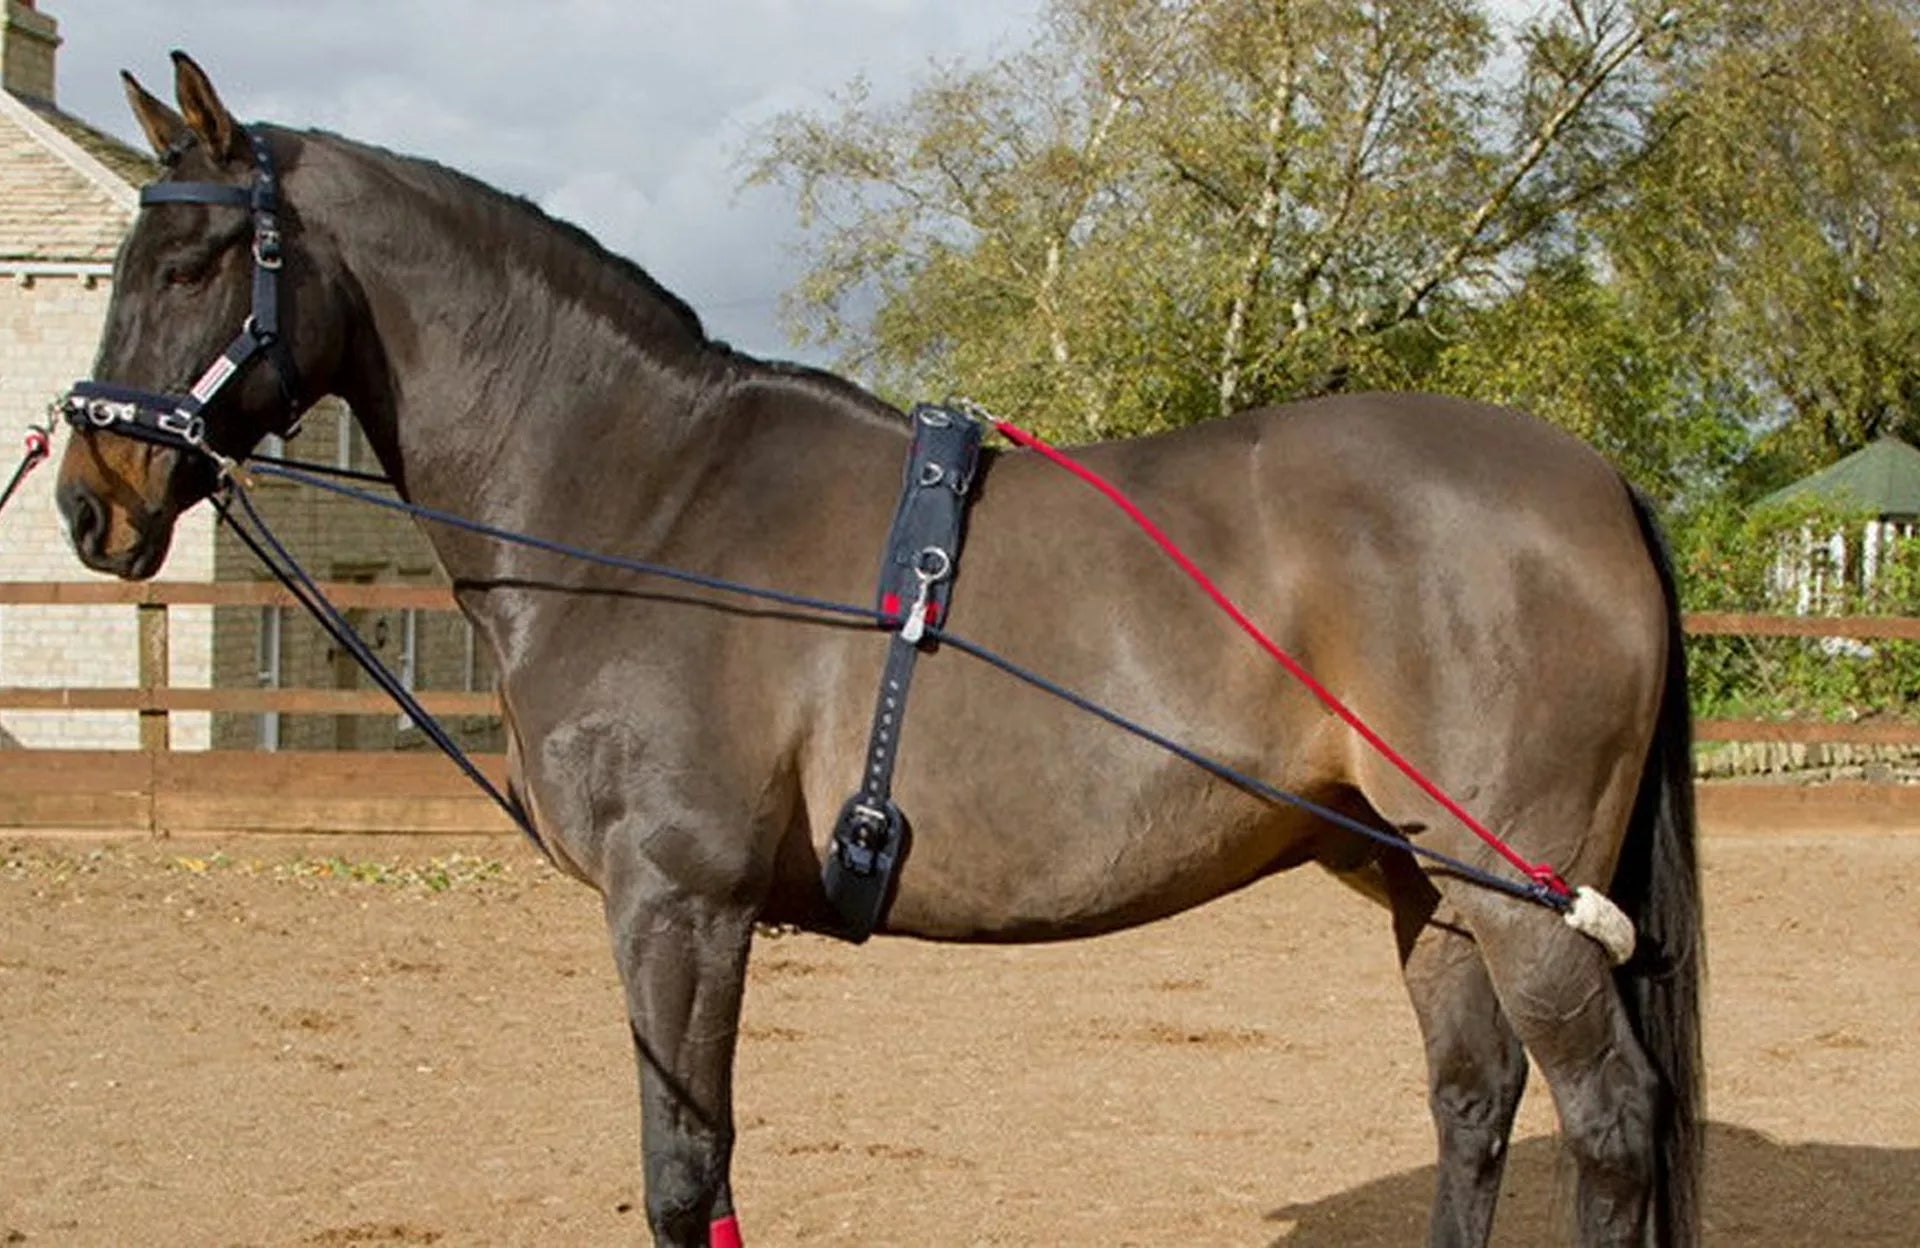
Lunging systems consist of a series of ropes and pulleys with a tensioner that is placed under the horse’s tail and around their hindquarters. These elements work together in harmony, asking your horse to engage their core muscles, lift their back and work from their hind quarters, into the bridle. Here we’re going to be taking a look at how they can be used.
How To Apply Lunging Systems
There’s no denying, lunging systems look like a rather complicated piece of kit! Never fear though, once they’ve been fitted they’re quick to apply and easy to use! Each brand will vary slightly so always read the manufacturer’s instructions.
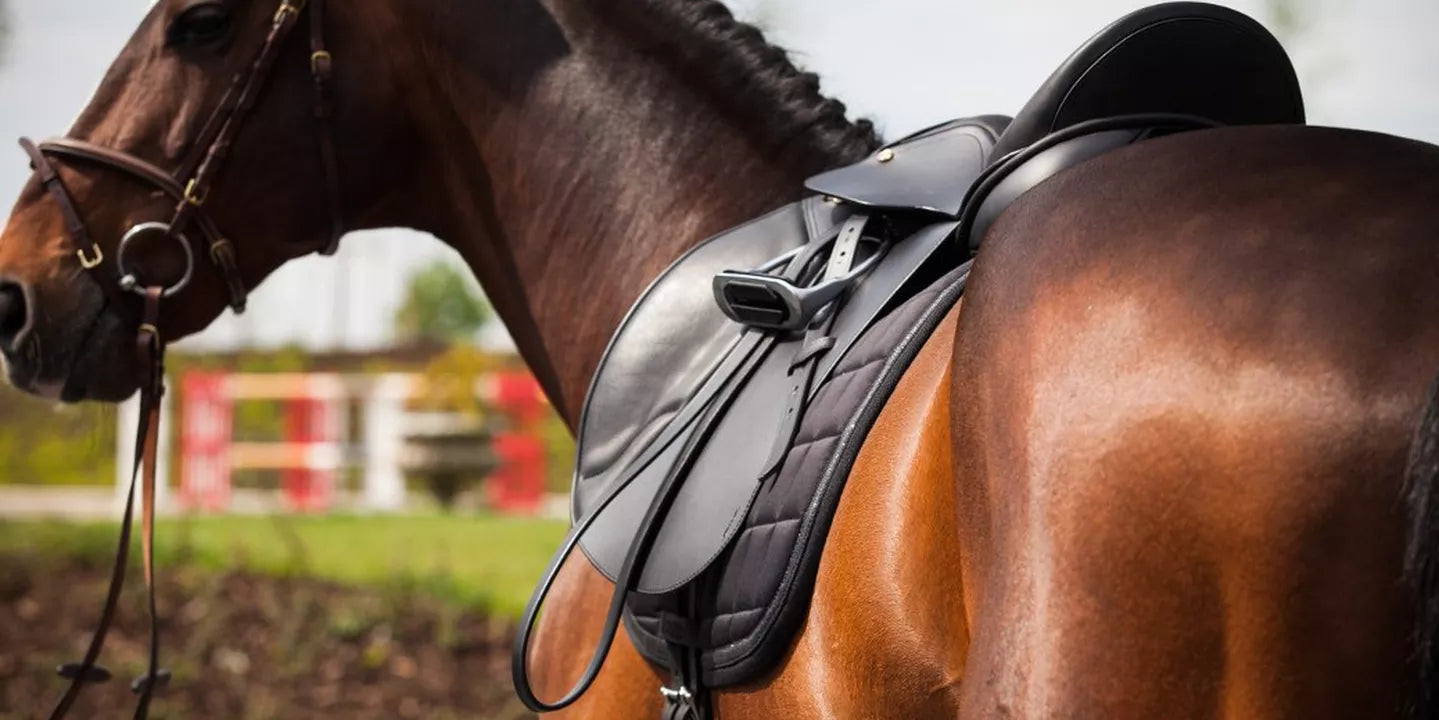
To apply a lunging system to your horse you must first start by tacking up as you usually would for a lunging session. Your horse will need to be wearing a bridle, cavesson, roller and boots if required. Once you’ve done this you can add the lunging system.
Here's our rough step by step guide:
- Place the tensioner rope (which sits behind the quarters) over your horse’s back, so that it’s in line with the roller. Ensure that the triangle shaped rope attachment is facing your horse’s head.
- Take the clip for the tensioner (the point of the triangle) and fasten it to the centre ring at the top of your roller.
- Thread the flank lines through the rings on your horse’s roller (midpoint) and fasten both clips on either side to the bit.
- Gently slide the tensioner along your horses back so they’re able to feel it, before placing it in position under the tail. Your horse may find this a little scary, so provide lots of reassurance.
- Adjust the line between the tensioner and the roller. It should sit above the hocks, in line with the stifle. It shouldn’t be too tight as this will restrict your horse’s movement.
- Unfasten both of the flank line clips from the bit on either side. There are two clips per side, one which is on a movable roller, another in a fixed position at the end. Reattach the movable clips to the bit on either side. Stand in-front of your horse holding the fixed clip to check that the remaining length is equal either side.
The next step will depend on what you're hoping to achieve...
Positions
Lunging systems can be used in a whole host of positions, each with a different outcome. Here are the two primary variations.
Position One - Top Line Training
The starting point and the primary use of a lunging system is to achieve a long and low frame!

John Whitaker Training System
Pass both clips down directly between your horse’s front legs and attach them to the centre ring on the underside of the roller. This prevents their head being raised too high, ensuring they stay relaxed and stretched over their back. Combined with the activation of the hind legs, it encourages your horse to engage their core muscles. Intended to aid a long and low shape, your horse’s head should be below their withers. When in the desired position, the lines should be slack. If your horse lifts their head, the lines should provide tension.
Position Two - Intermediate Training
You should aim to use position one for a minimum of twelve to eighteen sessions across a period of six weeks. Once your horse is comfortable with the first option – Working correctly without resistance, you may wish to progress further.

John Whitaker Training System
To do this pass both clips back through the bit and attach them to the roller, just above the flank lines. Similar to the positioning of side reins, this encourages a higher traditional head and neck with the poll at the top of your horse’s frame. The lines shouldn’t draw your horse’s head behind the vertical, they should be slack when in the desired position. They will prevent your horse raising or lowering their head, without holding them in a fixed position. Your horse should not rely on the lines or become tense and stiff. Their jaw should be relaxed and they should continue to be balanced, moving freely with impulsion.
Why use lunging systems?
When used correctly lunging systems simply guide your horse into the right outline and encourage them to use the correct muscles to maintain this. Each section is responsible for a different element of your horse’s body:
Tensioner: The tensioner sits around the quarters, encouraging your horse to bring his legs further underneath him. This helps to ensure he’s tracking up and moving straight. Driving forward from behind lifts his weight off the forehand, improving balance and rhythm.
Flank Lines: The lines from the bit to the roller are responsible for influencing your horse’s head and neck positioning.
A lunging system can be used to:
- Shift weight from the forehand to the hind quarters.
- Develop top-line.
- Engage the core muscles.
- Improve stride length.
- Improve balance and rhythm.
- Develop transitions.
How To Use Them Correctly
Introduction
Regardless of your horse’s fitness or level any new training aid should be introduced slowly. To begin, plan a few sessions including only walk. Once your horse has become accustomed to the lunging system add short periods of trot. Allow your horse to find their natural rhythm. Once their trot is balanced and impulsive, add canter transitions to encourage an active and stable strike off.
Warming Up
Always start your session using the long and low position to avoid stiffness. You should aim to do lots of walk first before progressing to trot and canter. If your horse is sharp or spooky, you may want to allow a short time to burn off excess energy first by working in without the lunging system.
Frequency & Duration
Designed to engage your horse’s muscles, a session in a lunging system is a bit like a Pilates class! Hard work, they should not be overused. It’s recommended that two to three sessions per week is sufficient. Sessions should be kept short, build up to a maximum of twenty minutes at a time.
Now you know the truth behind the training aid! You can shop the products in this blog at www.naylors.com. Don’t forget to share your training progress pictures with us in the comments or include #NaylorsSnapAndShare on your social posts!