Blog
-
 7 min read
How to Choose Your Horse Riding Footwear
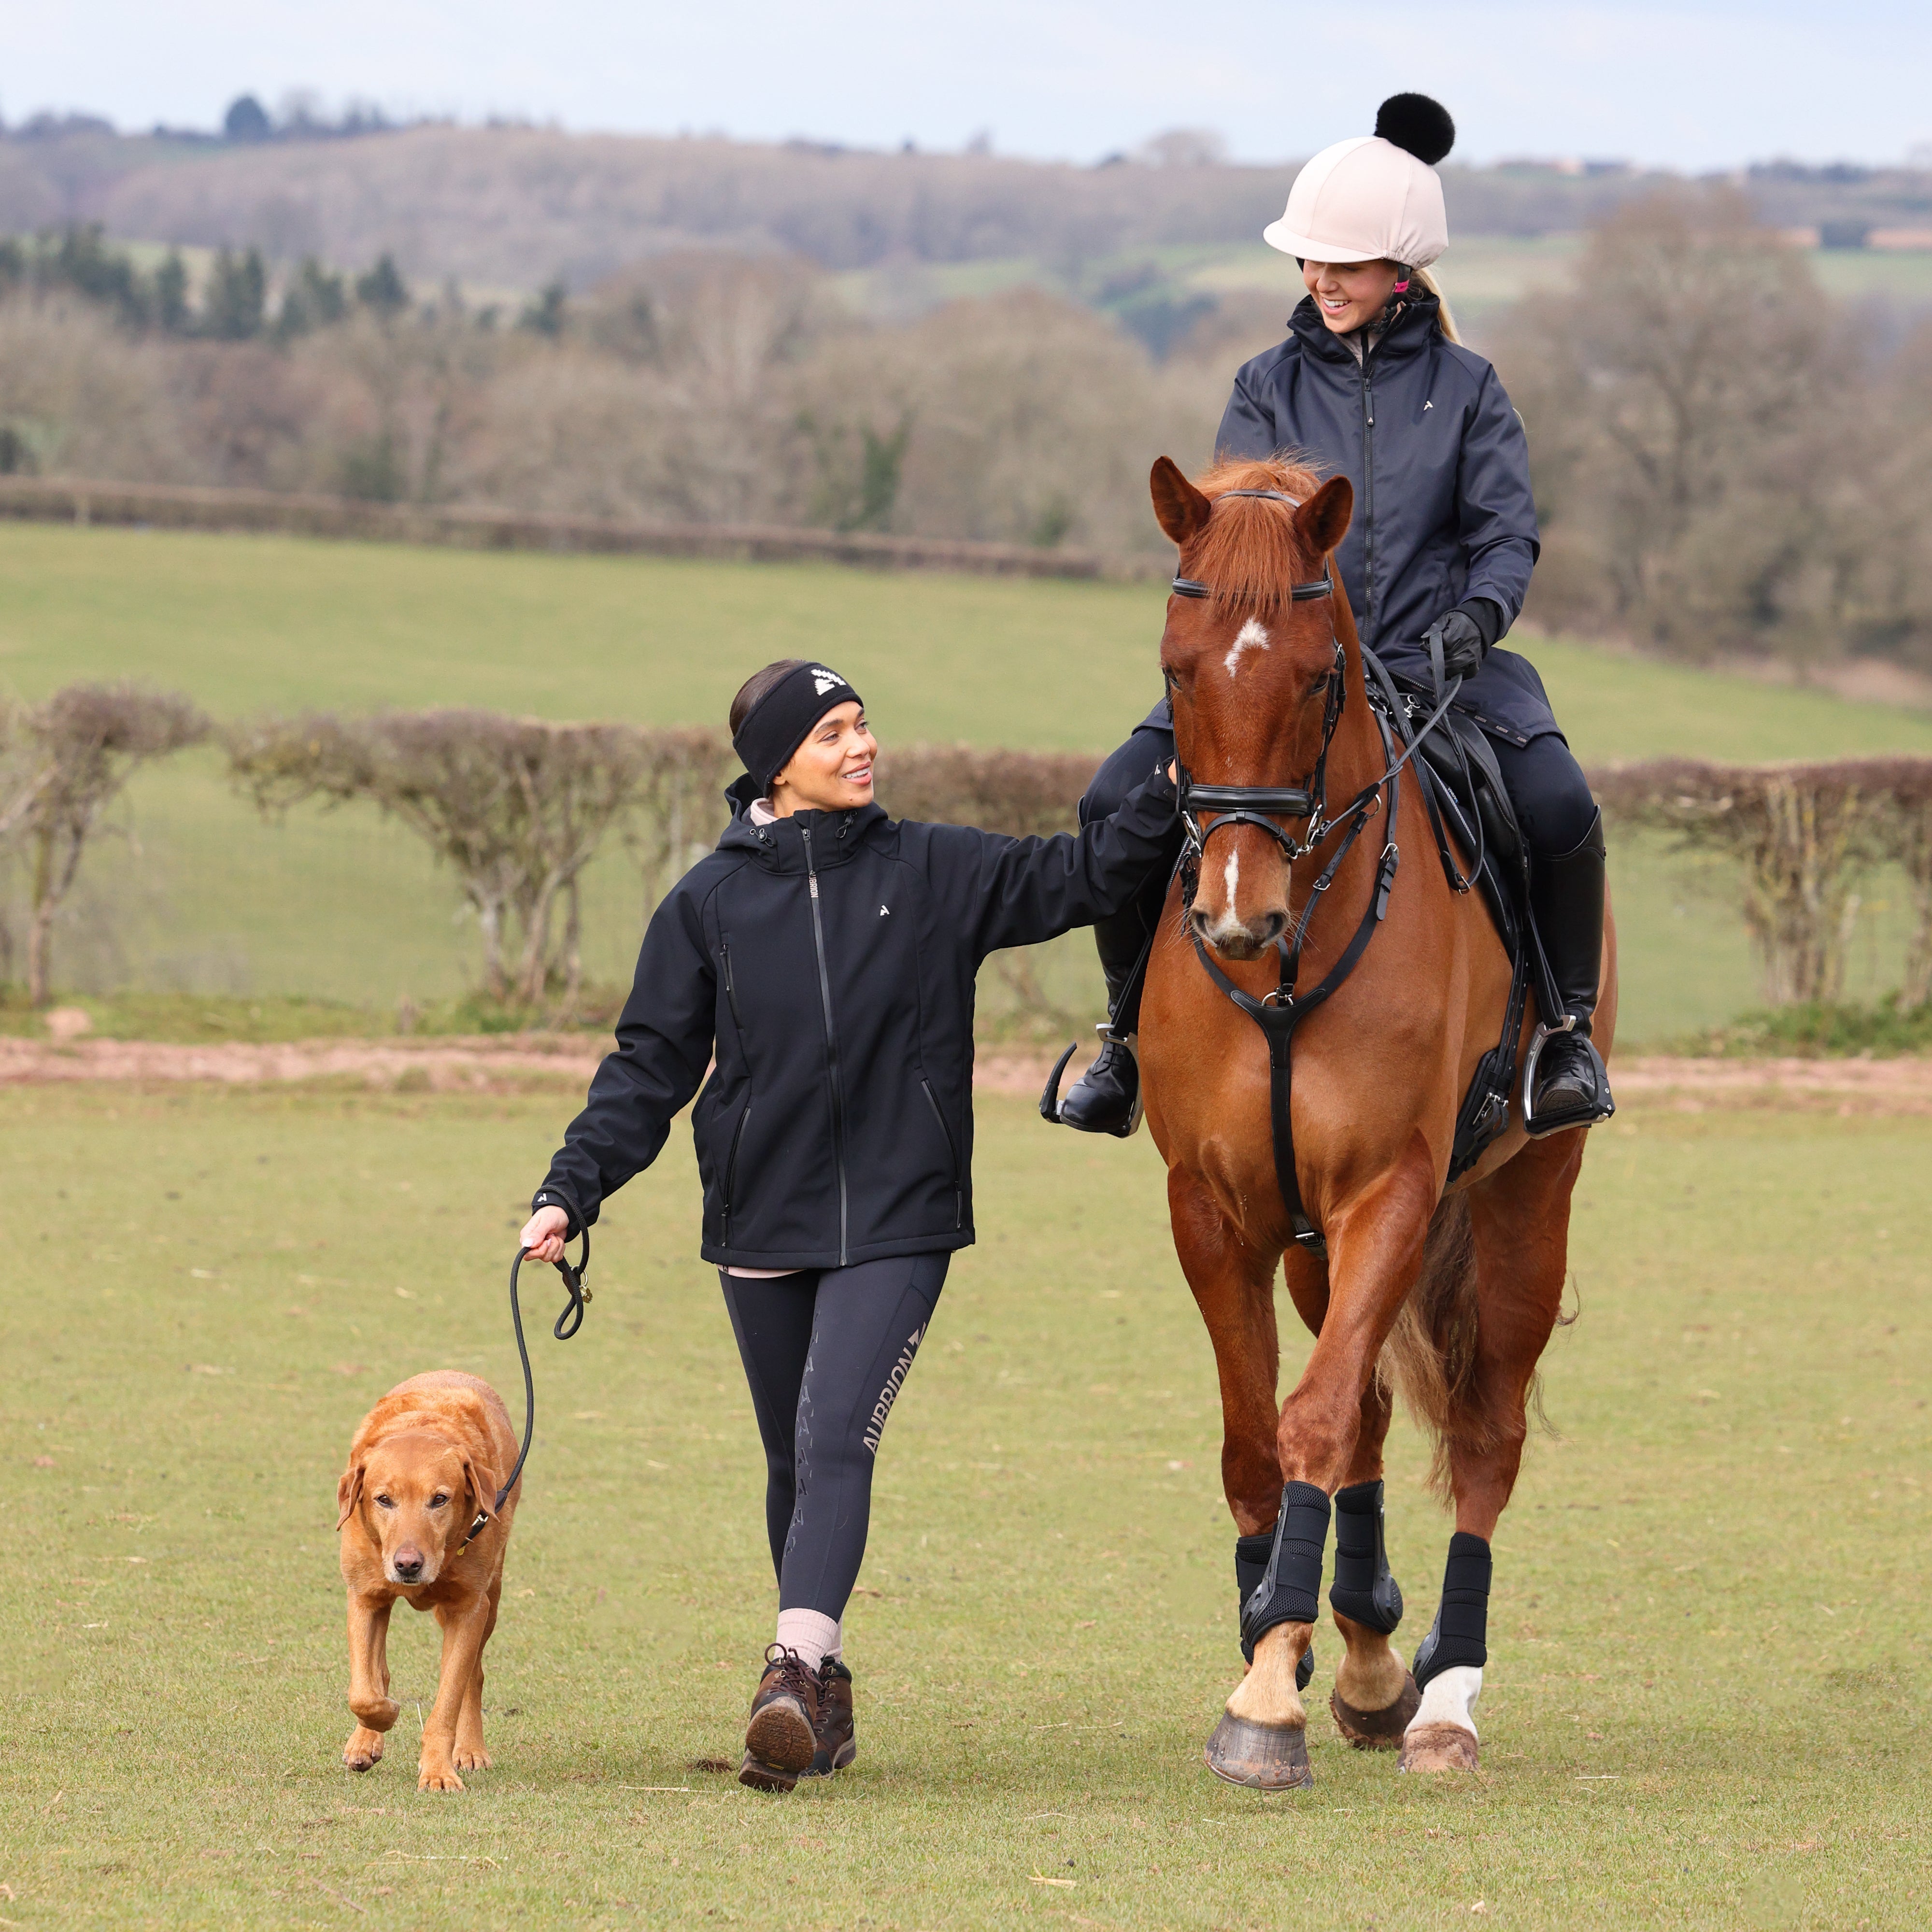
How to Choose Your Riding & Yard Footwear: A Practical Buyer’s Guide Choosing the right riding and yard boots for you isn’t just about style, it’s a critical part of...
Read Article -
 5 min read
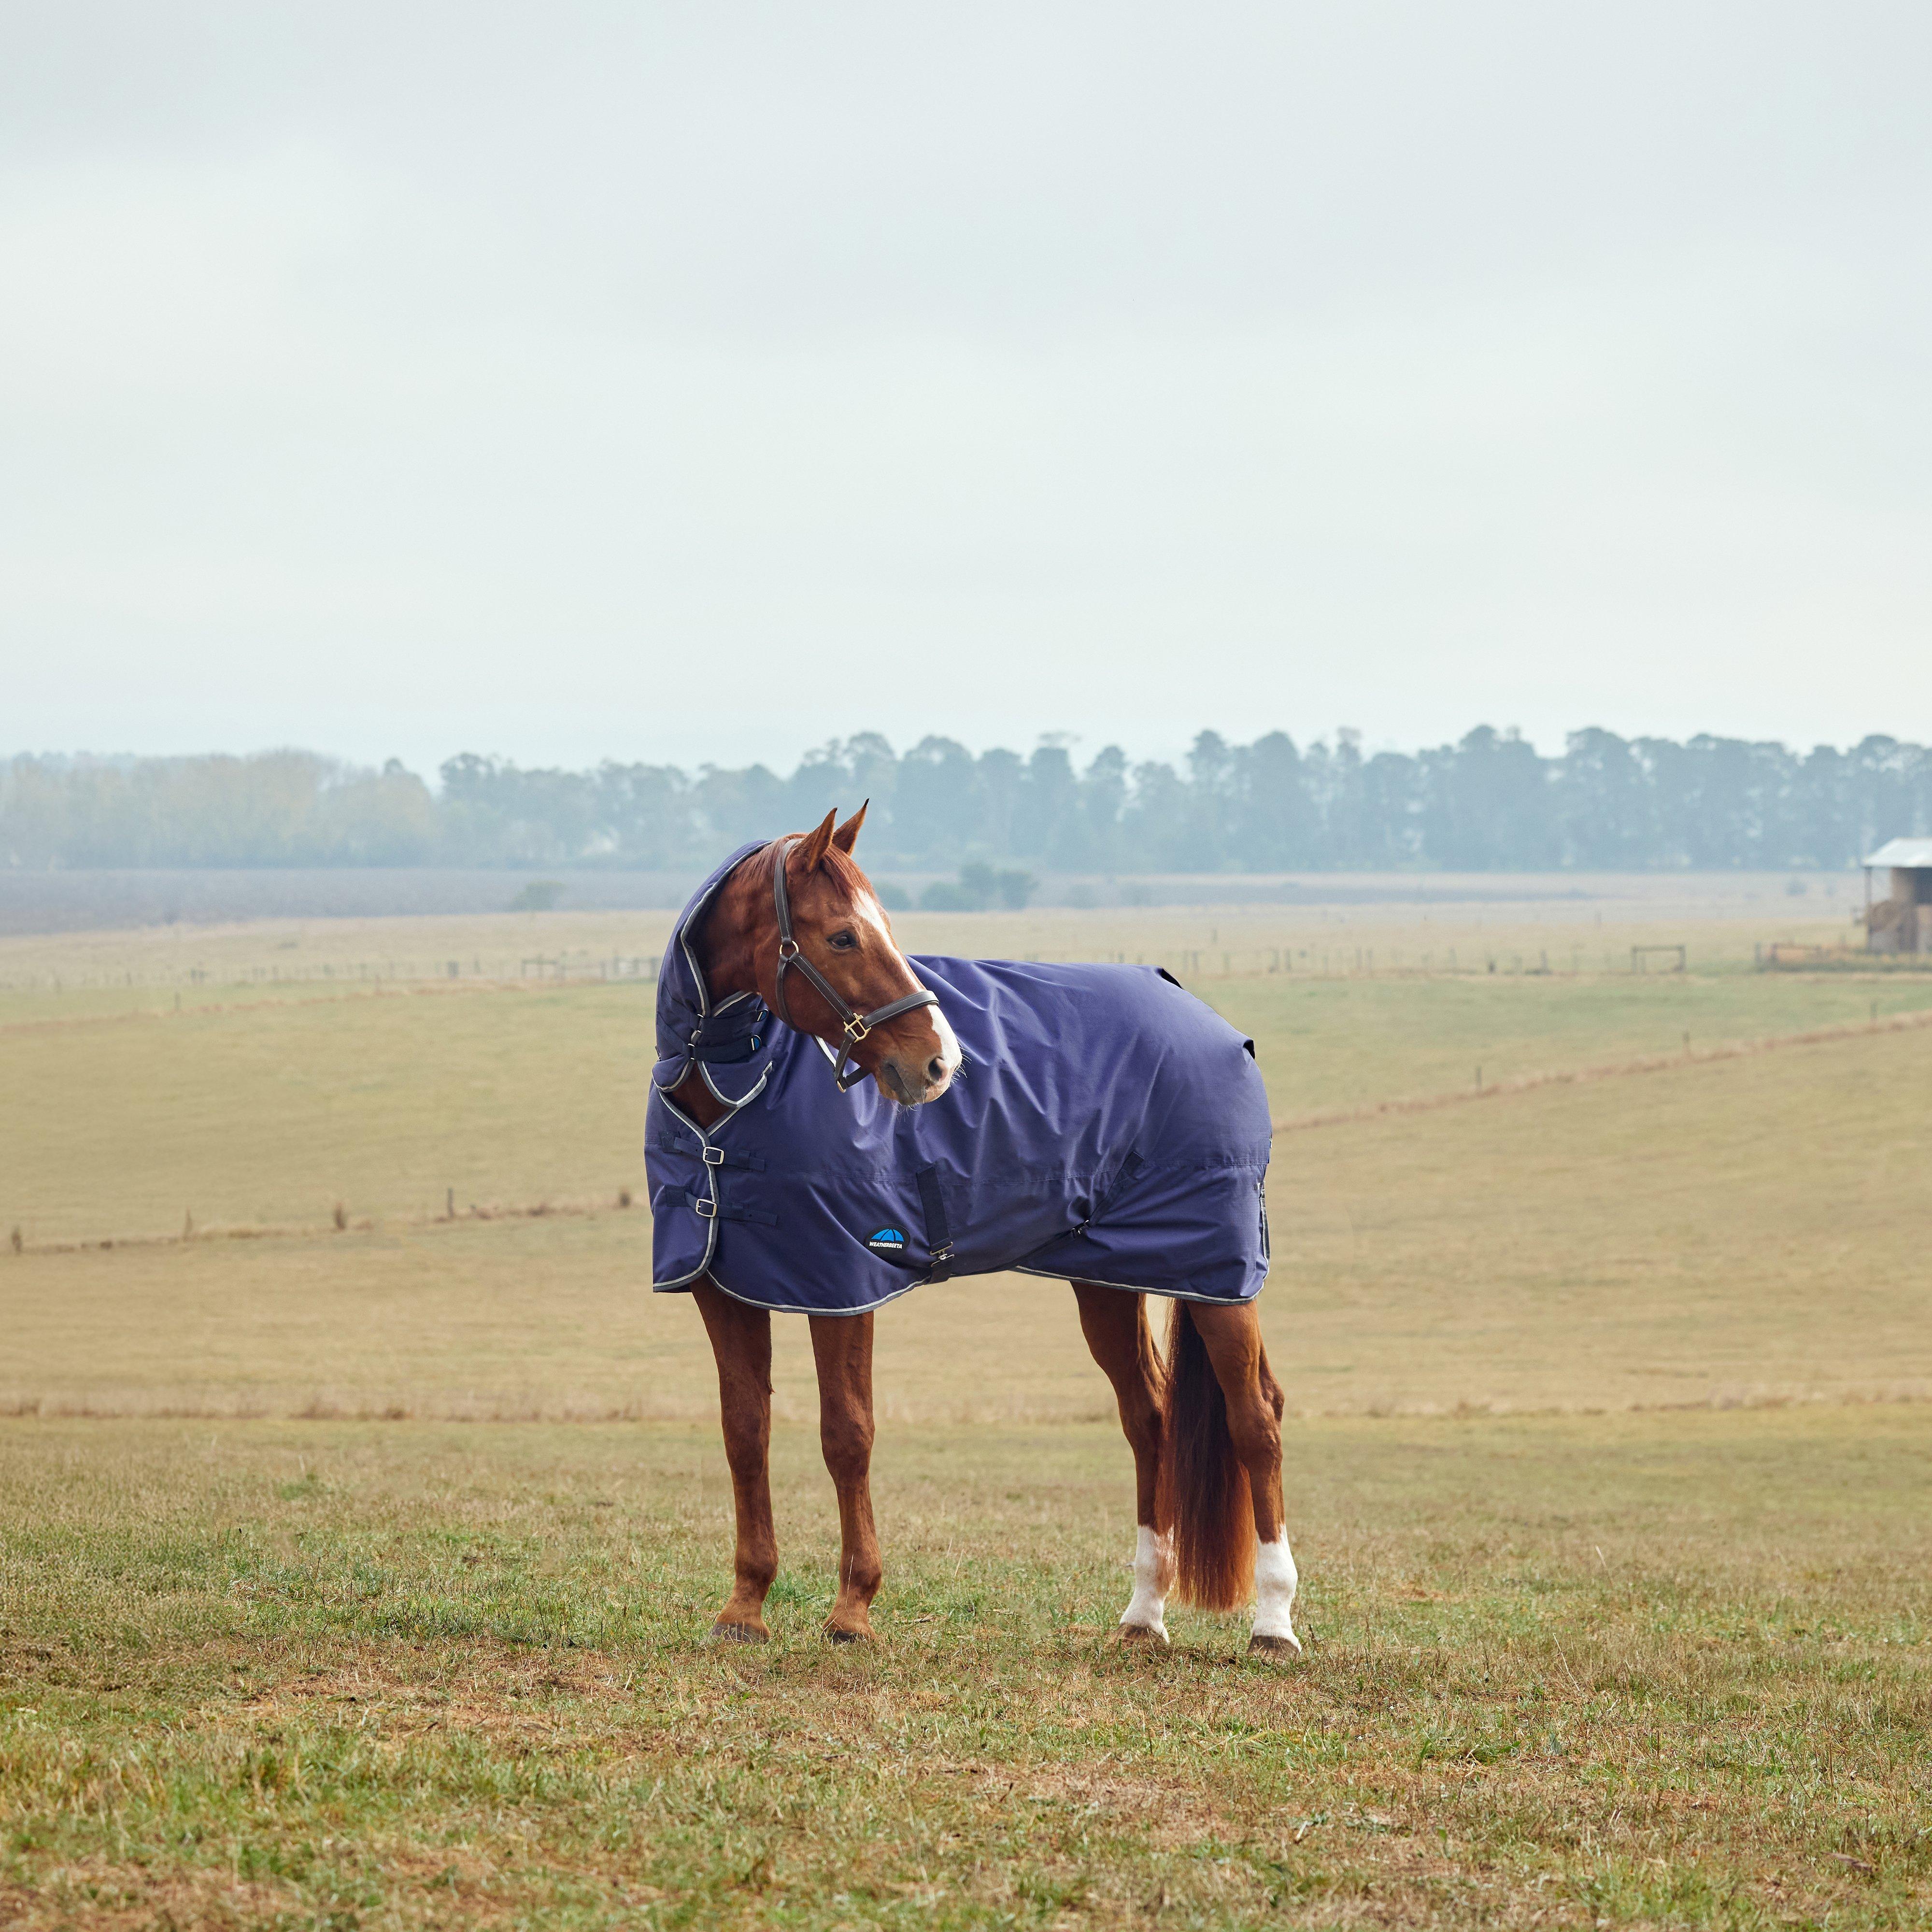
Horse Rugs Made Simple: What Rug Should I Put On My Horse
This expert guide from Naylors brings together trusted industry principles and practical yard‑level advice to help you confidently decide if your horse needs a rug, which type to choose, and how...
Read Article -
Summer fly protection for horses
As much as horse owners look forward to the summer months with their longer days and fairer weather, there is no escaping the flies! Flies are everywhere during the summer...
Read Article -

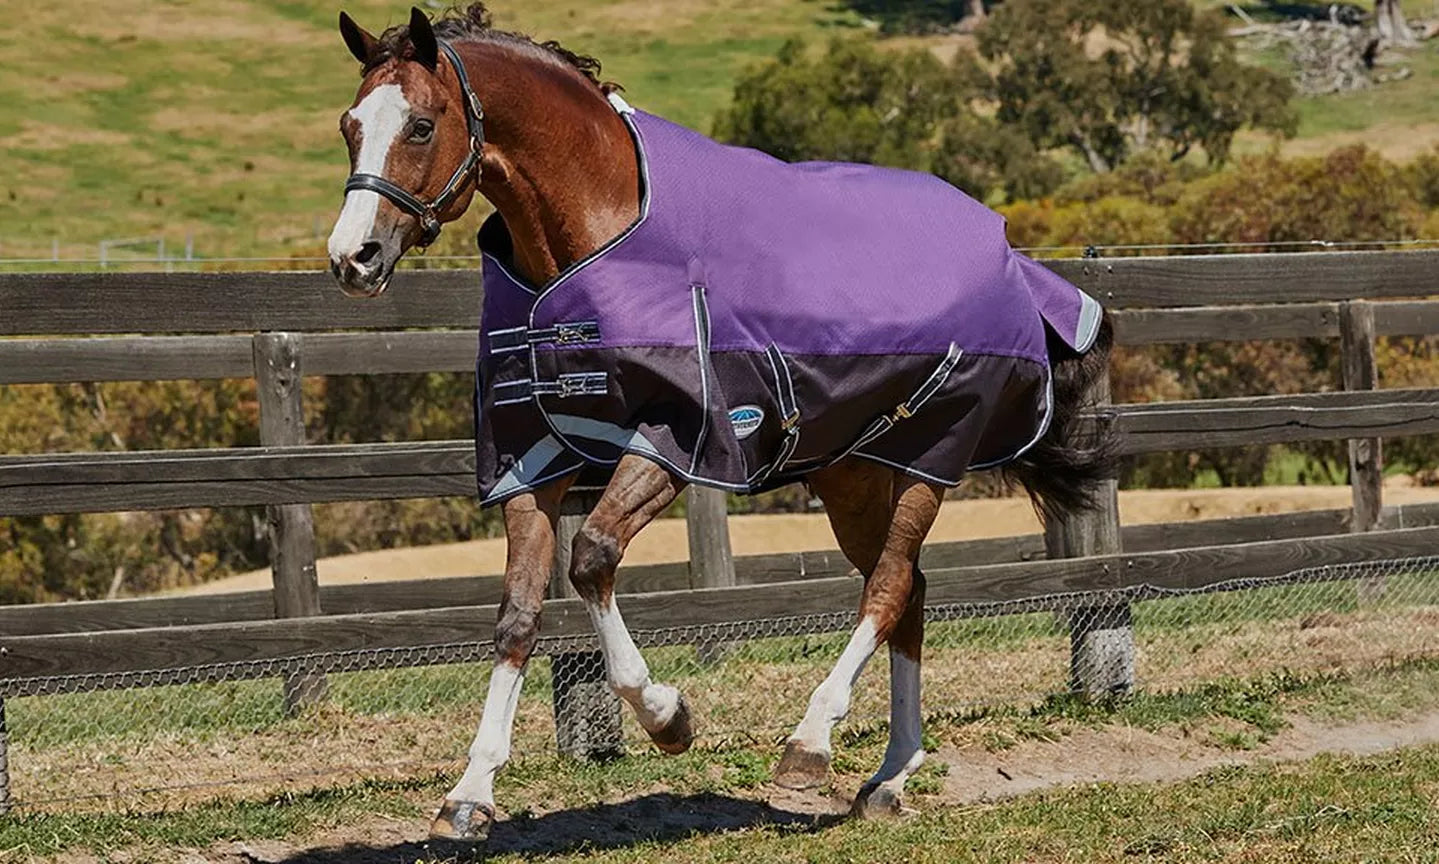
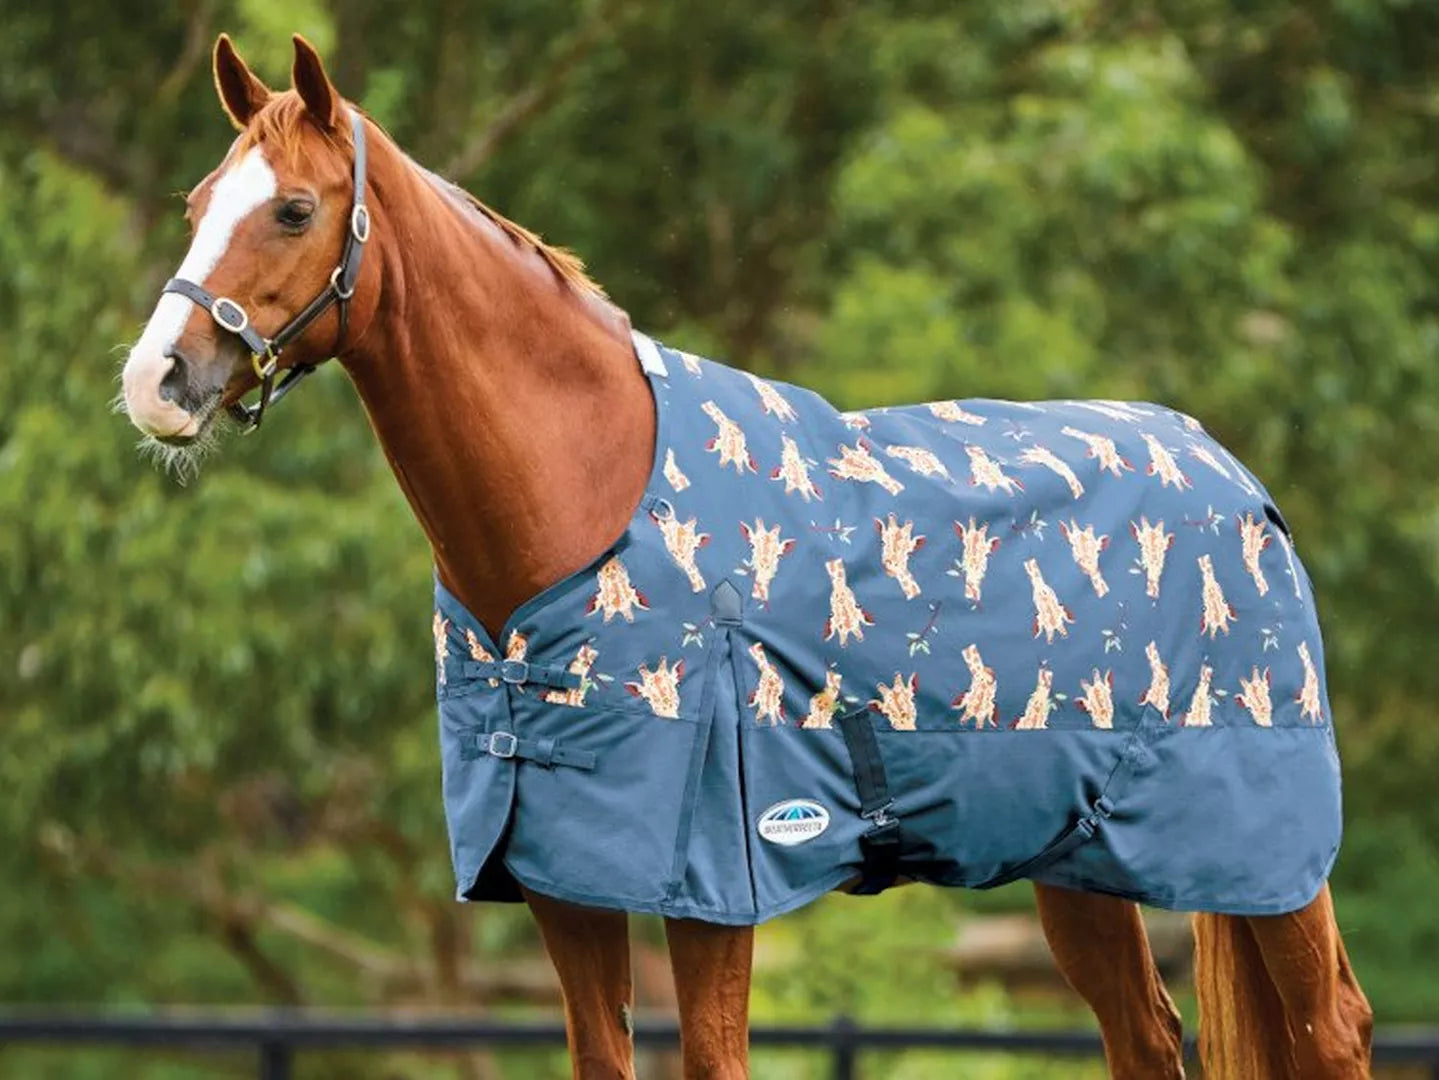
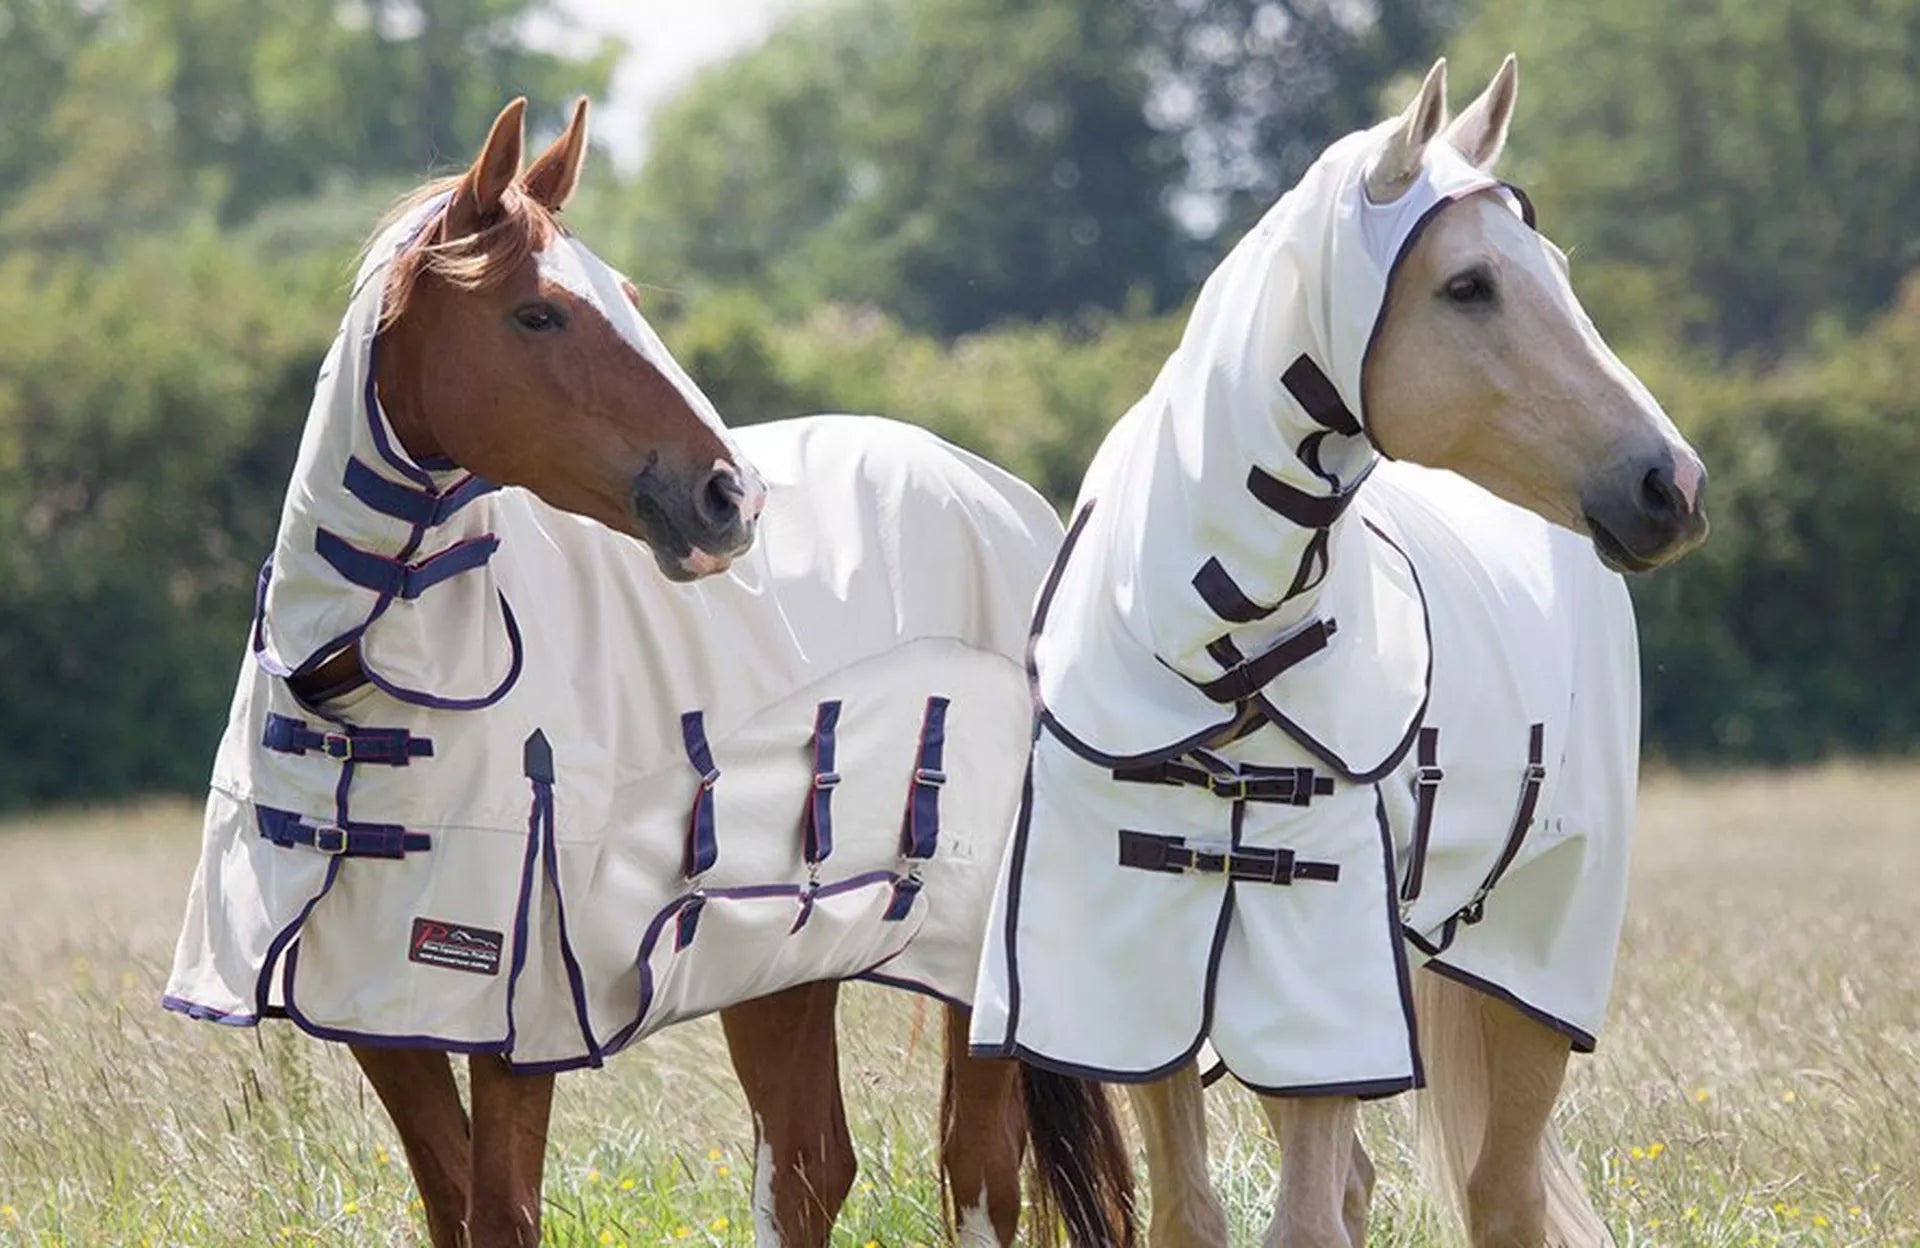
WeatherBeeta Rugs – Our Guide
There are so many reasons as to why you may need to rug your horse. WeatherBeeta have been designing and manufacturing horse rugs for over 35 years and so they truly take...
Read Article -
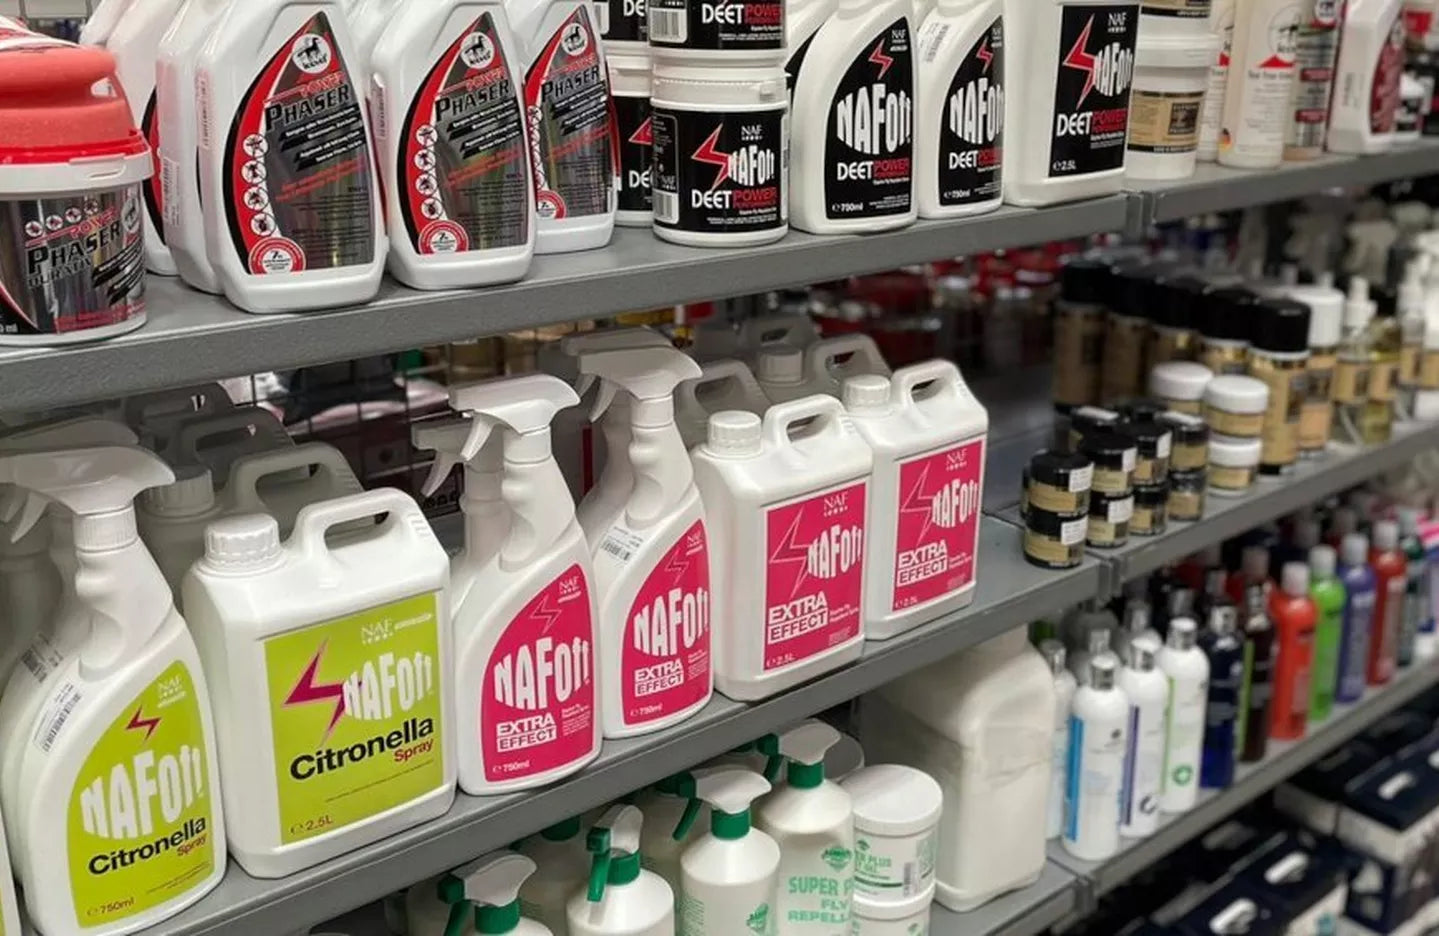
Fly Spray & Repellent – What’s inside?
Shaking heads, swishing tails, itching skin and stomping hooves… That’s right, it’s officially fly season! There’s no denying, buzzing bugs can be a real Summer spoiler. We spend all Winter...
Read Article -
Taking the Reins: What to Wear for Your First Horse Riding Lesson
So, you are venturing into the world of horse riding… Exciting times lay ahead! Learning to ride horses is a fun and challenging hobby, however you must ensure that you...
Read Article -

Rug Cleaning Guide – Washing & Waterproofing
It’s no secret that rugs are by no means cheap and disposable, despite how our horses often treat them! While we wish they’d stay looking and performing as good as...
Read Article -
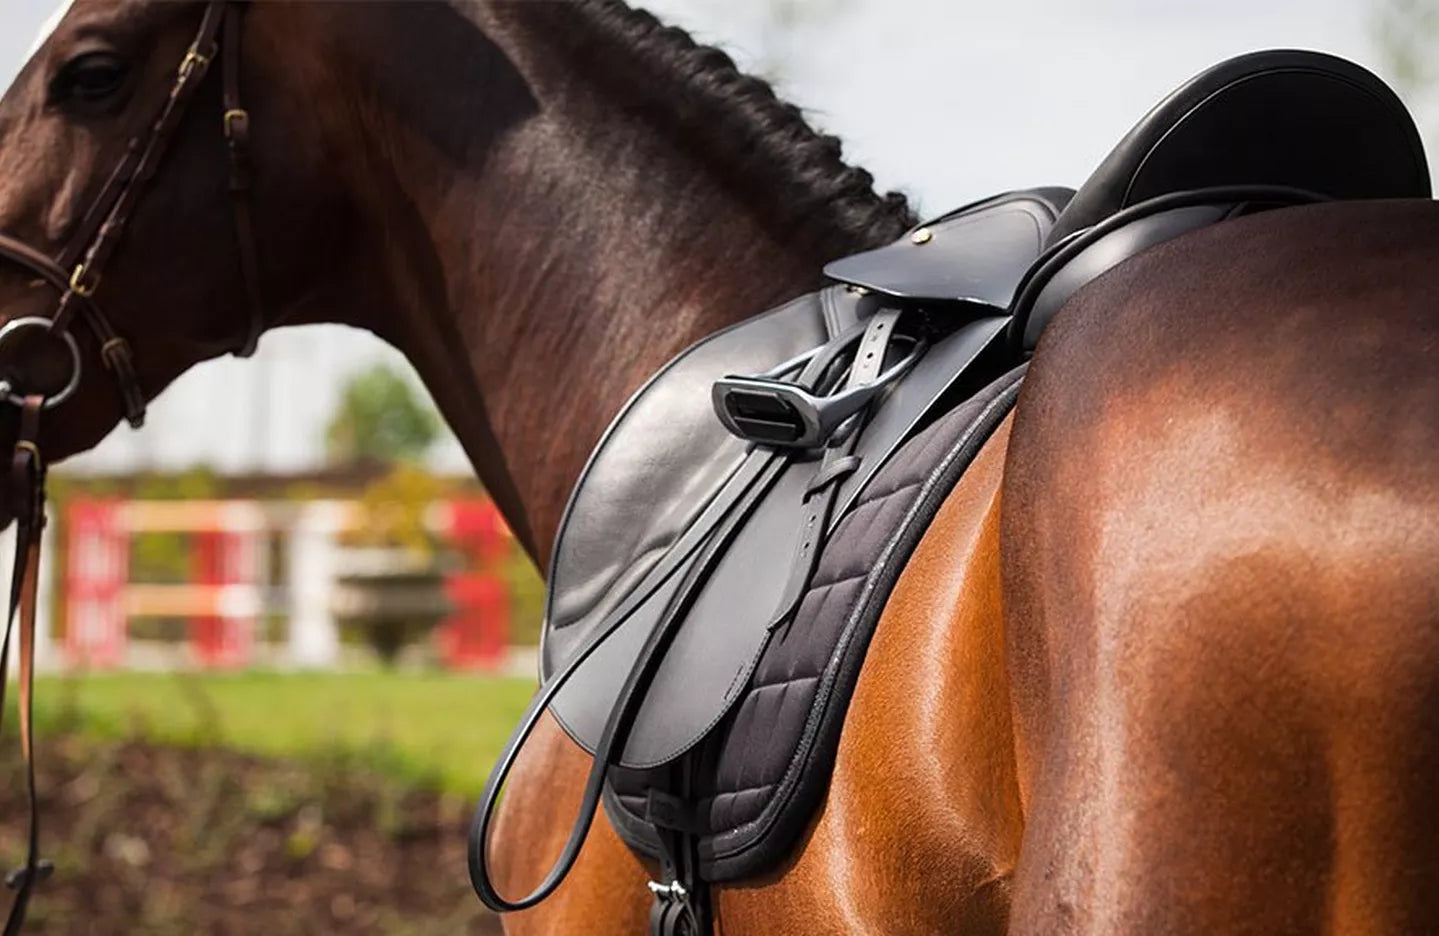
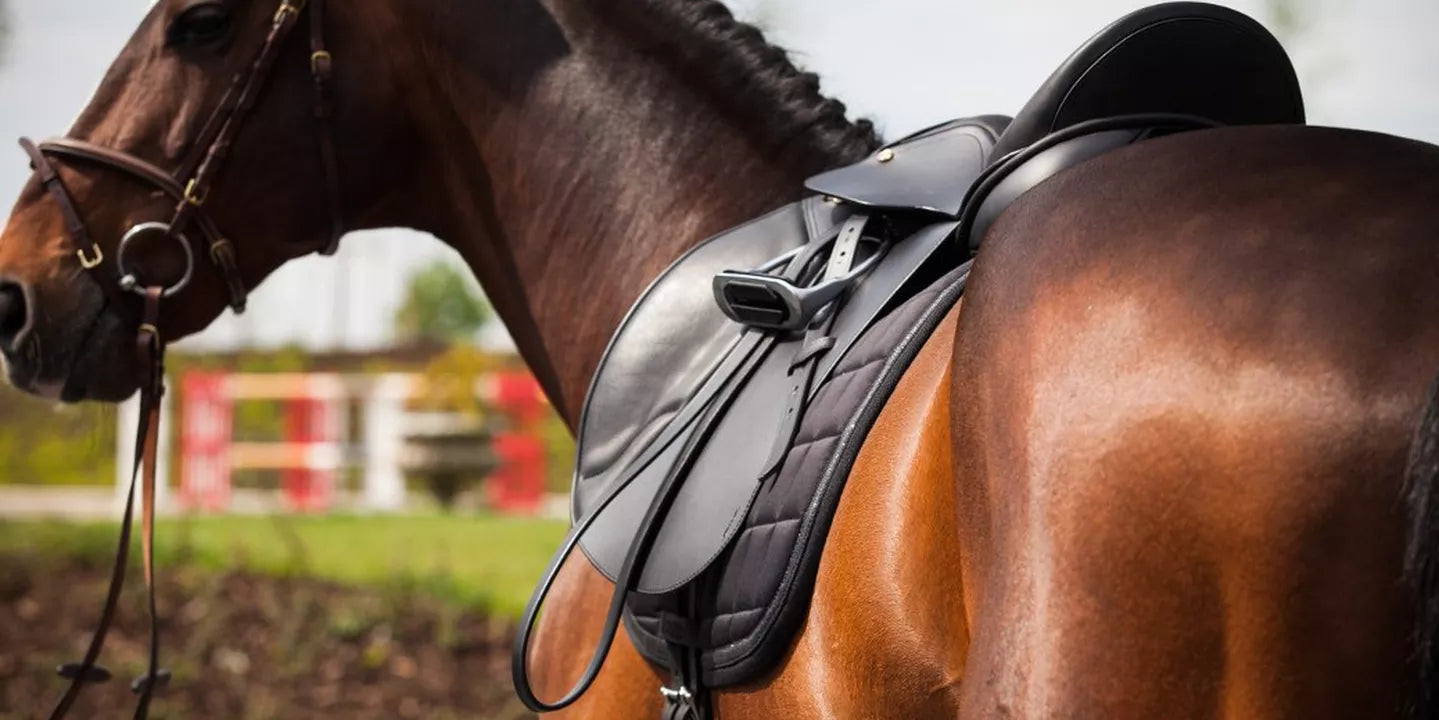
Correctly Fitting Tack and Why It’s Important
Tack is an essential piece of kit for all horse riders and it is important to regularly check your tack fits correctly. Whether you are a happy hacker or compete...
Read Article -
Girths | Choosing The Right One For Your Horse
There are many factors to consider when it comes to girths, so we’ve put together a girth guide to help you choose the best suited one for you and your...
Read Article -

Top Tack! 5 Anatomical Bridles We Love
Over recent years the hype about anatomical saddlery has taken the equestrian world by storm, opening our eyes to a really important topic. We all know the risks of riding...
Read Article -
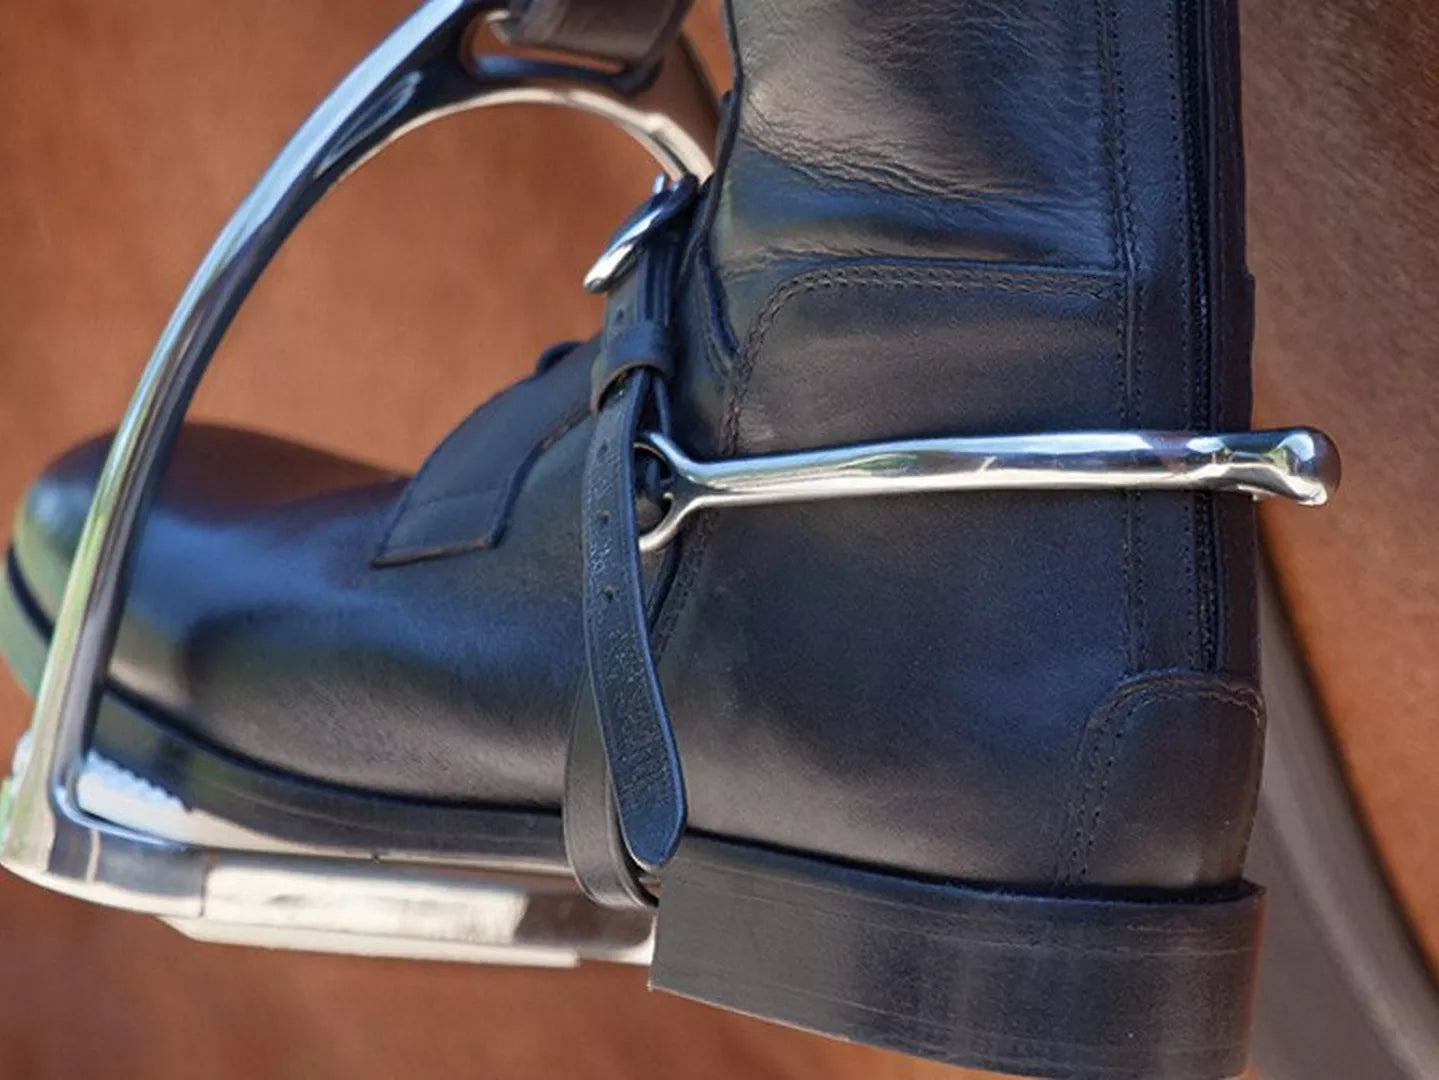
Choosing the Right Spurs for Riding Your Horse – Our Guide
What are Spurs and why do people use them? Spurs are a metal tool that is attached to the heel of riding boots for the purpose of making a horse...
Read Article -
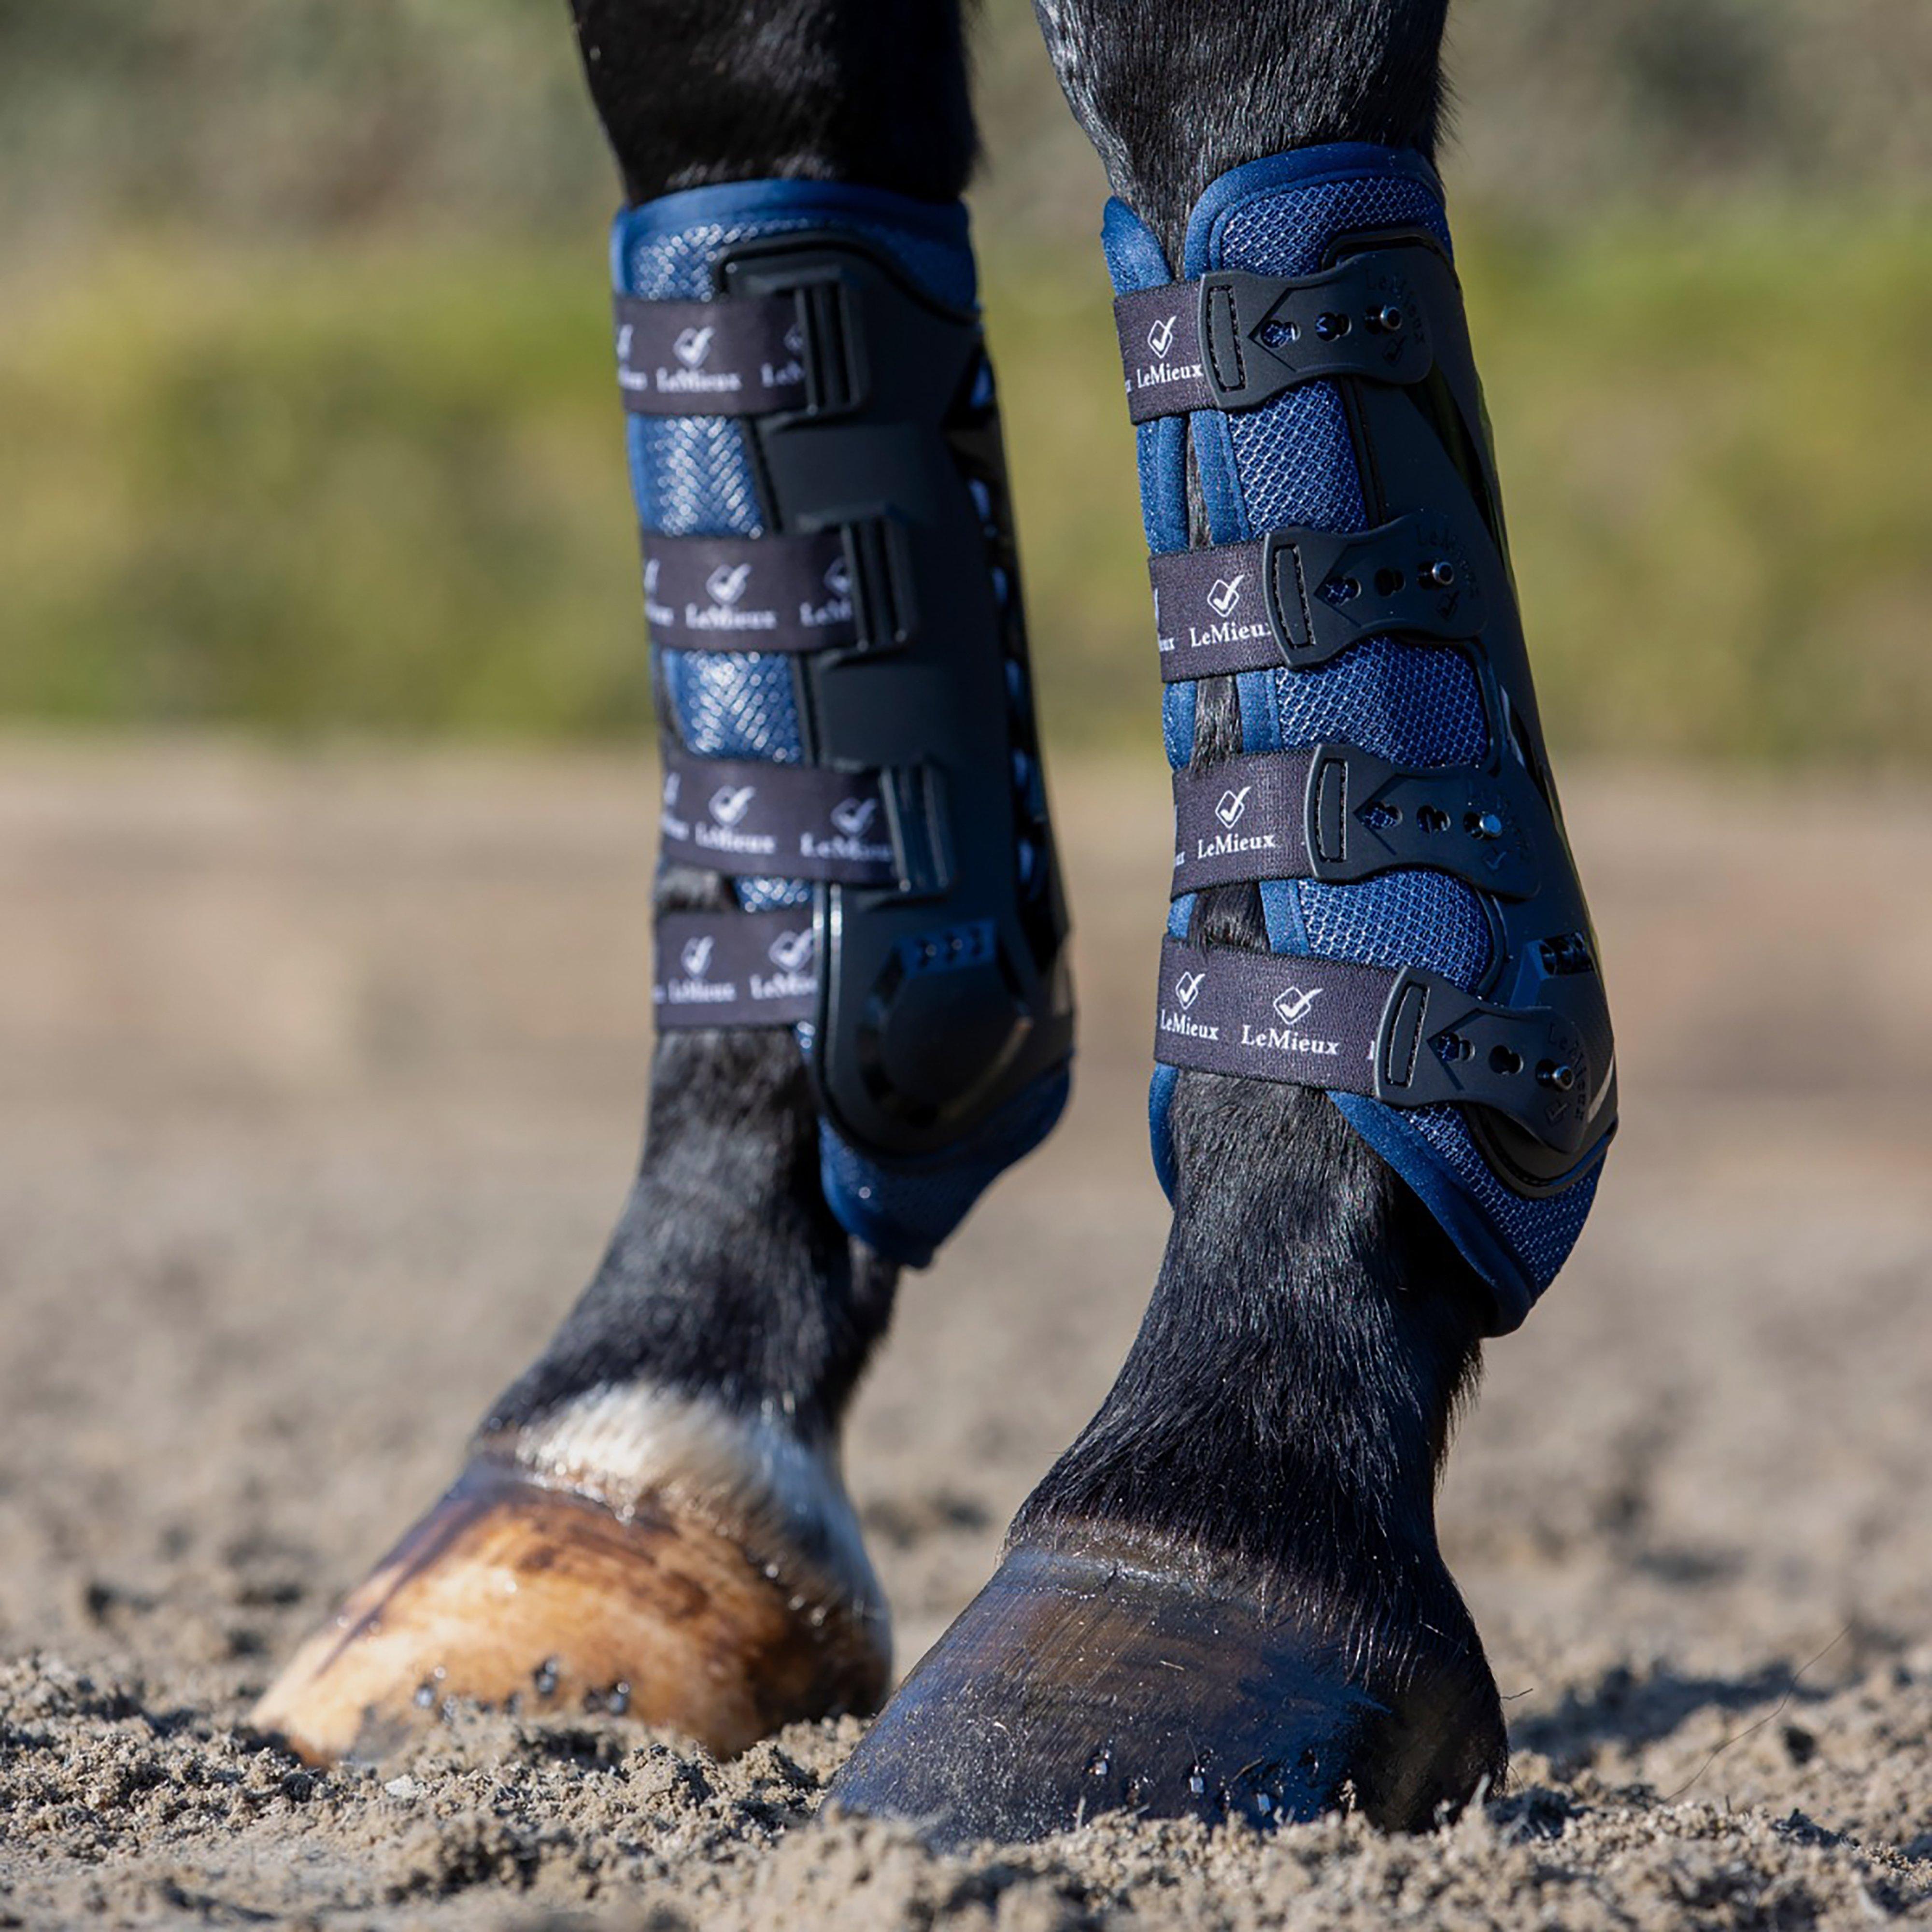
Horse Boots 101 | Which Boots Are Best For Your Horse?
There are many things horse owners have in common; with one of the main commonalities being our horse's safety and well-being. And so many of us use boots to "protect...
Read Article -
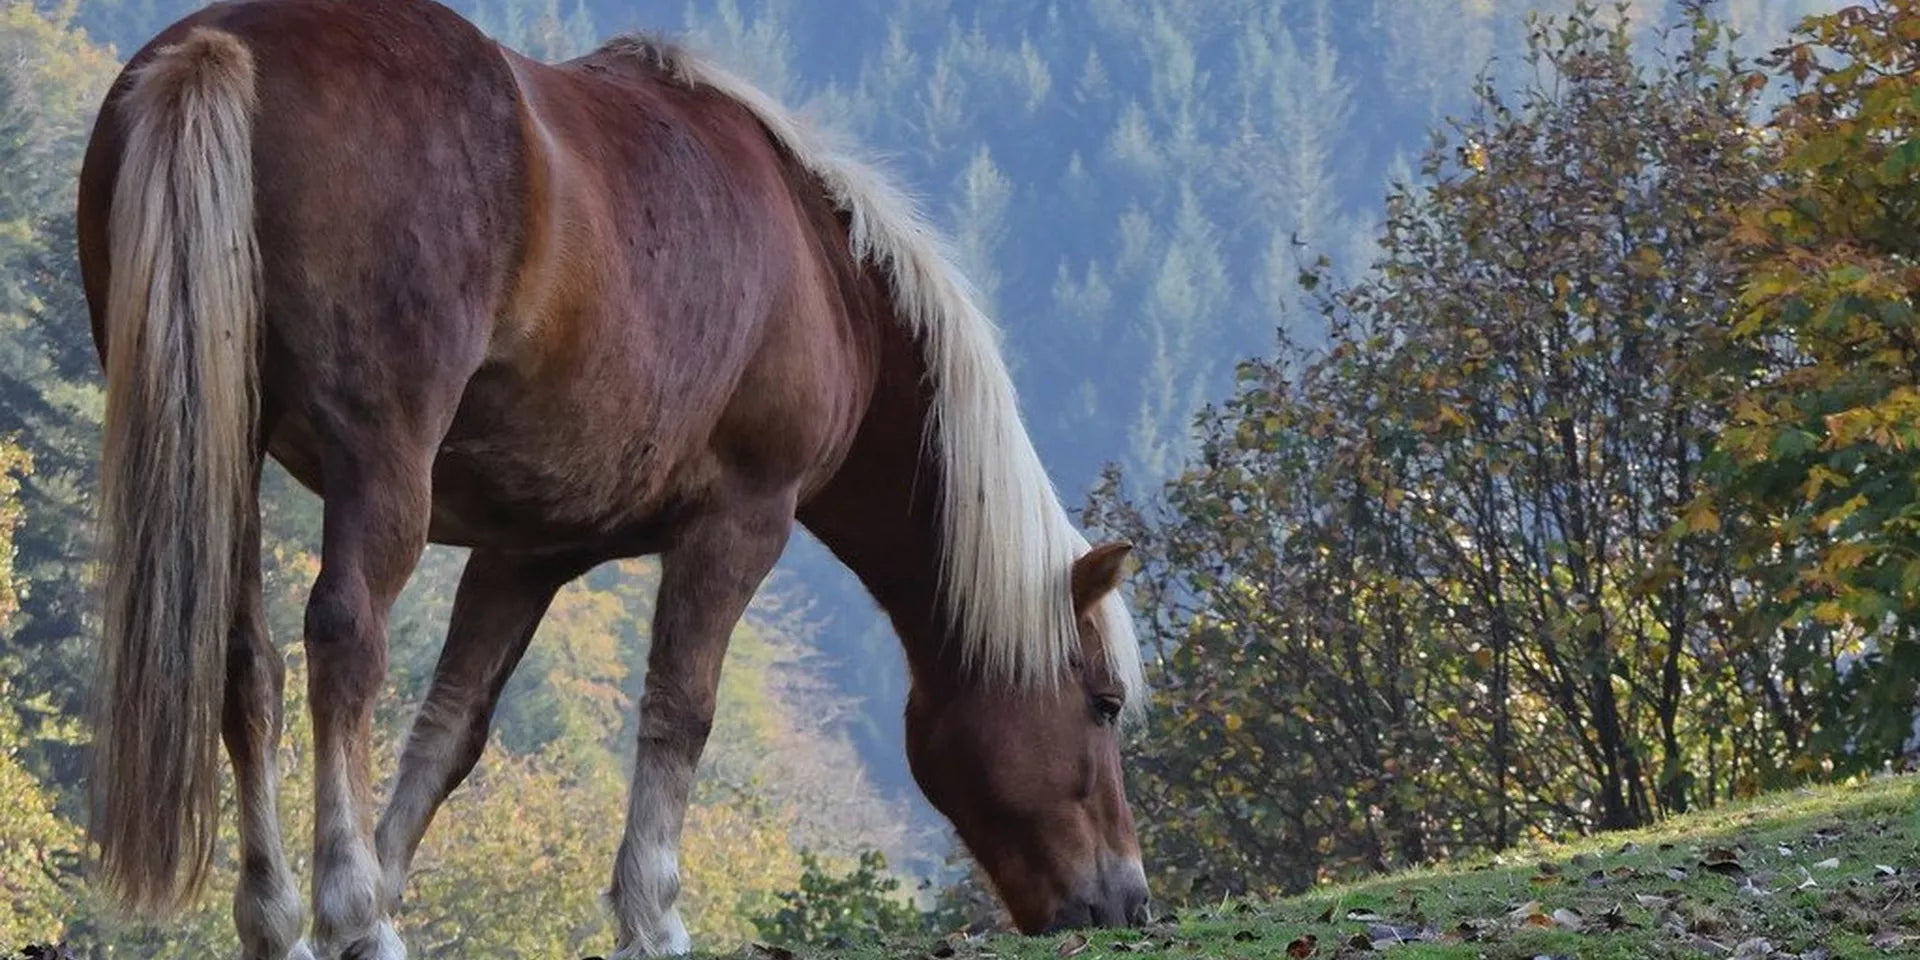
9 Steps To Growing Your Horse's Mane Back
Winter is undoubtedly a difficult time to keep our horse’s looking their best. During these colder months it’s highly common for our horse mane to thin, become brittle and break...
Read Article -
How To Measure Your Dog For A Dog Coat
How To Measure Your Dog For A Dog Coat Dog coats are a great way to keep your canine friend warm and dry. If the temperatures have dropped or your dog...
Read Article -
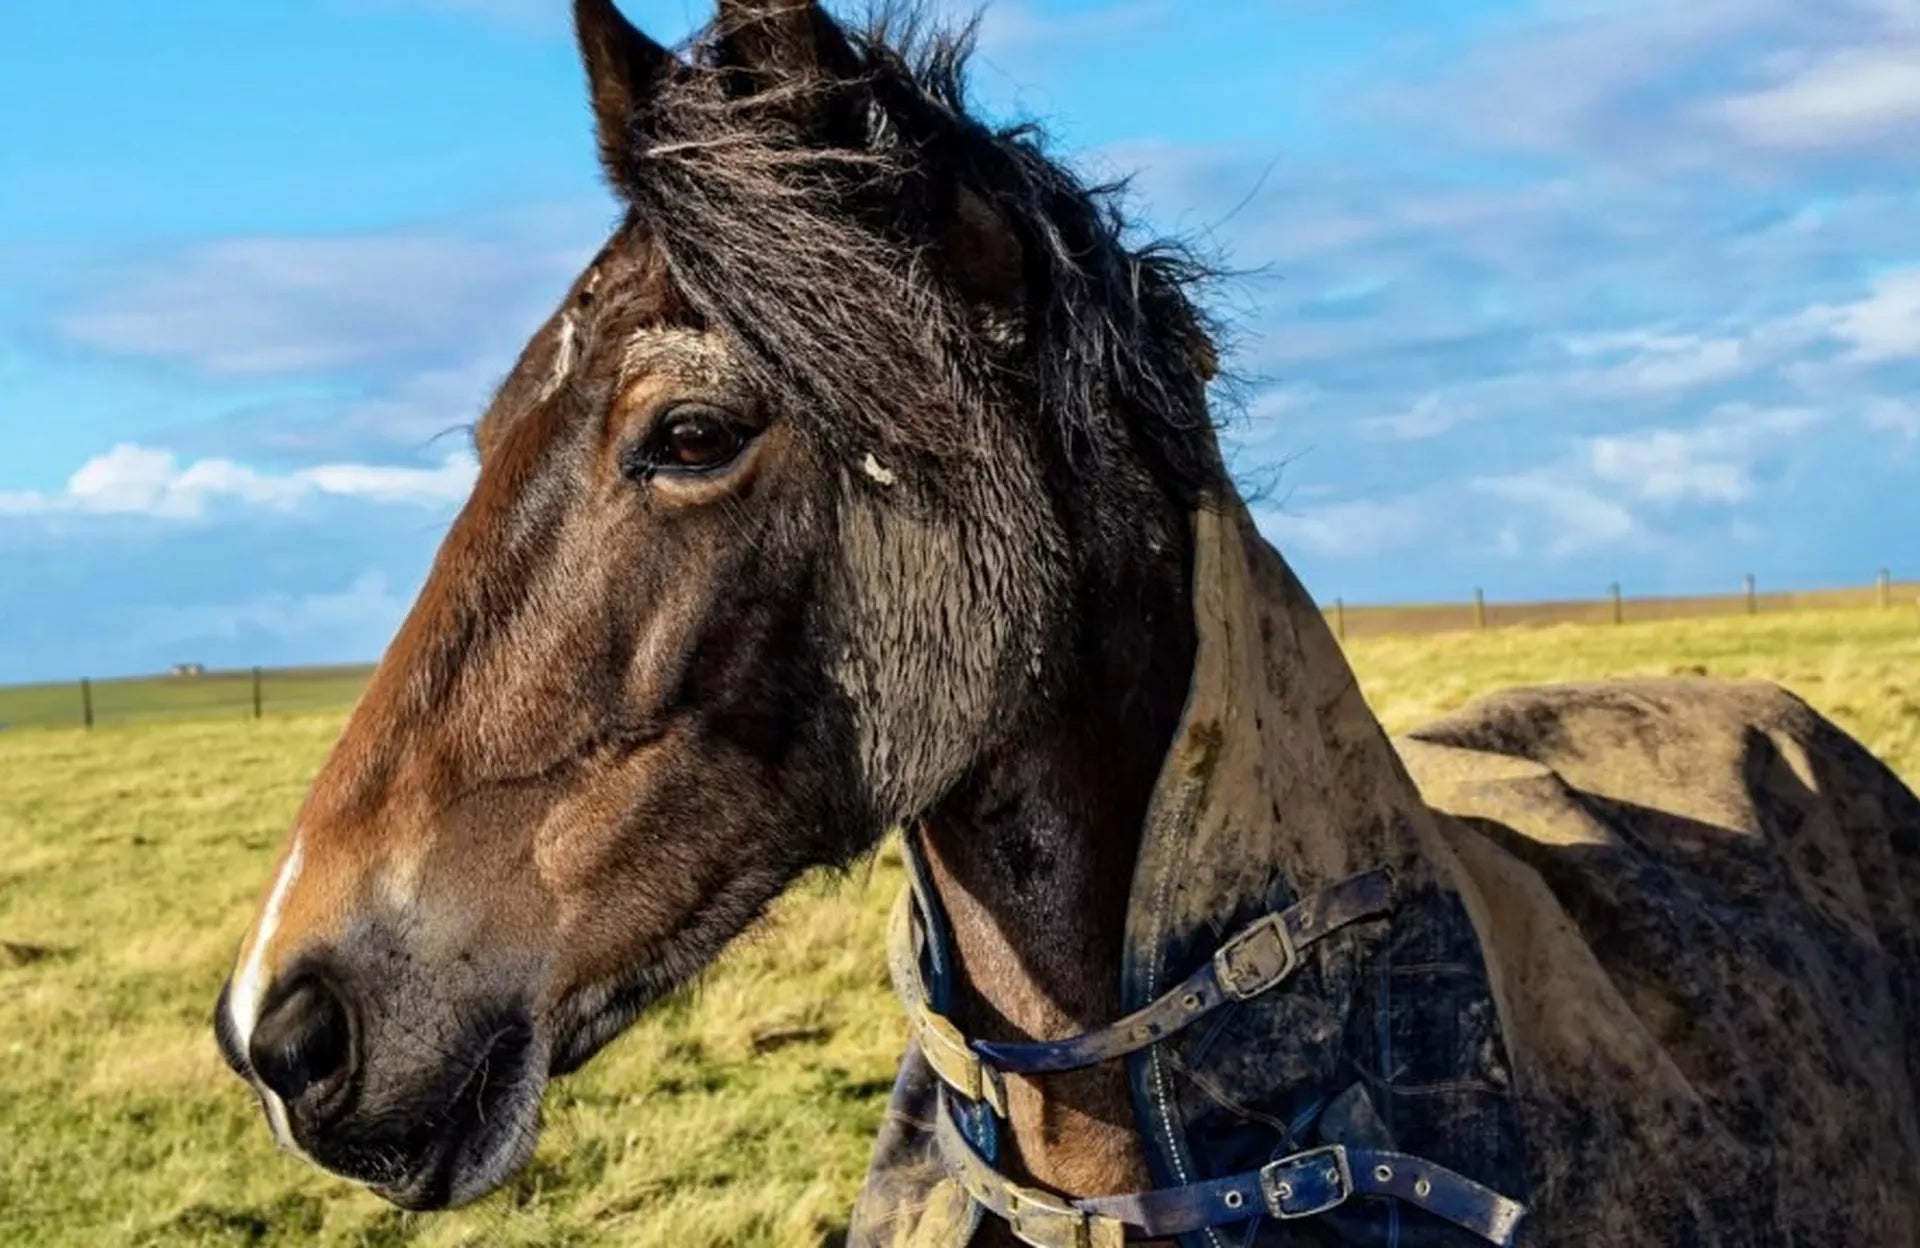
Mallenders & Sallenders – Treatment and Management
What are Mallenders and Sallenders? When we find scabs on our horse’s legs, it’s easy to jump straight to the conclusion that they’ve got mud fever, especially during the cold,...
Read Article -

Naylors Massive Horse Rug Clearance
Treat Your Horse & Grab A Bargain In The Naylors Massive Horse Rug Clearance It's the perfect time to give your horse's wardrobe an overhaul and make good use of...
Read Article -

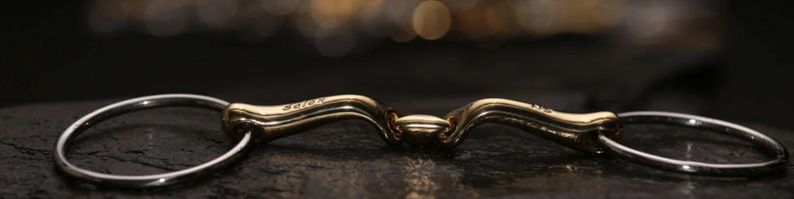
Which Bit For My Horse? | Naylors Guide
Which Bit For My Horse? | Naylors Guide Which bit for my horse? A common tack dilemma It is hugely important to make sure all of your horse's tack fits...
Read Article -
Riding Hat Rules & Regulations: Effective from 2019
Is your hat up to standard? If you're looking to take your horse out competing it can be difficult to decipher what the rules are for hat regulations.
Read Article