When it comes to grooming, there's one job most of us are guilty of overlooking or putting off for as long as possible - Sheath Cleaning. While it's not something any of us look forward to doing, it can be really important for the health and wellbeing of our stallions and geldings.
Why
First and foremost, lets bust the most common myth… Sheath cleaning is not about using harsh products to leave the skin spotless. In reality this would do way more harm than good! The sheath should be cleaned to remove dirt, debris and excessive smegma formation.
Uncleaned, your horses sheath can experience a whole range of issues such as beans, swelling, infections and attracting flies during the summer months. It’s also worth noting that smegma can actually be carcinogenic, causing cancerous tumours. Known as squamous cell carcinomas, this is more common on horses with pink skin on their penis and sheath.
Beans: Over recent years more and more of us have been made aware of sheath ‘beans’. These small clay-like formations occur when smegma hardens inside a small empty pocket at the tip of your horse’s penis called the urethral fossa. These are normal and in some cases, totally harmless. That being said, if left unaddressed they can continue to grow until they are the size of a golf ball! This causes swelling and can make it really uncomfortable for your horse to urinate, leading to kidney damage and infections.
When
Sheath cleaning is not an everyday task, or even every month for that matter. While you should be checking the area frequently for any signs of trouble such as lesions and swelling, this doesn’t mean it should be washed. Self cleaning to a degree, the natural processes of your horse’s body mean you should only be intervening when required, usually every 6 to 12 months. Sheath cleaning should only be performed on horses over 4 years old. Over cleaning should be avoided, it can encourage the area to produce an excessive amount of oil and grease.
What You'll Need
Sometimes there’s no harm in gathering what you need as you go about a task, however this isn’t one of those occasions. Before getting started, ensure you’ve got all the equipment you’ll need to do the job! The last thing you want is to leave your horse standing around. This is likely to result in them becoming agitated and impatient.
You will need:
- 1 set of examination gloves.
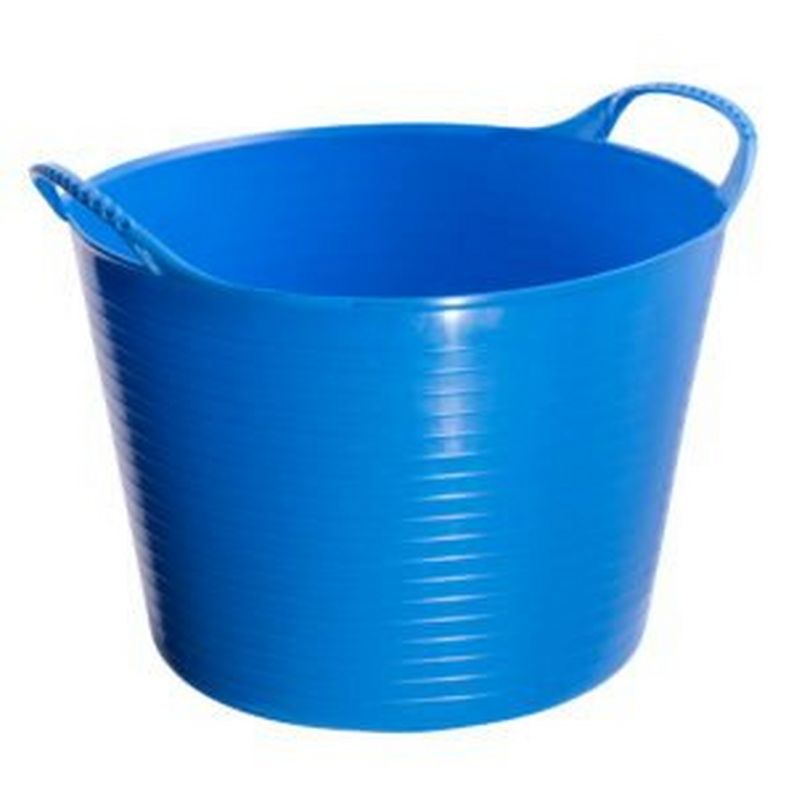
- 2 buckets of warm water.
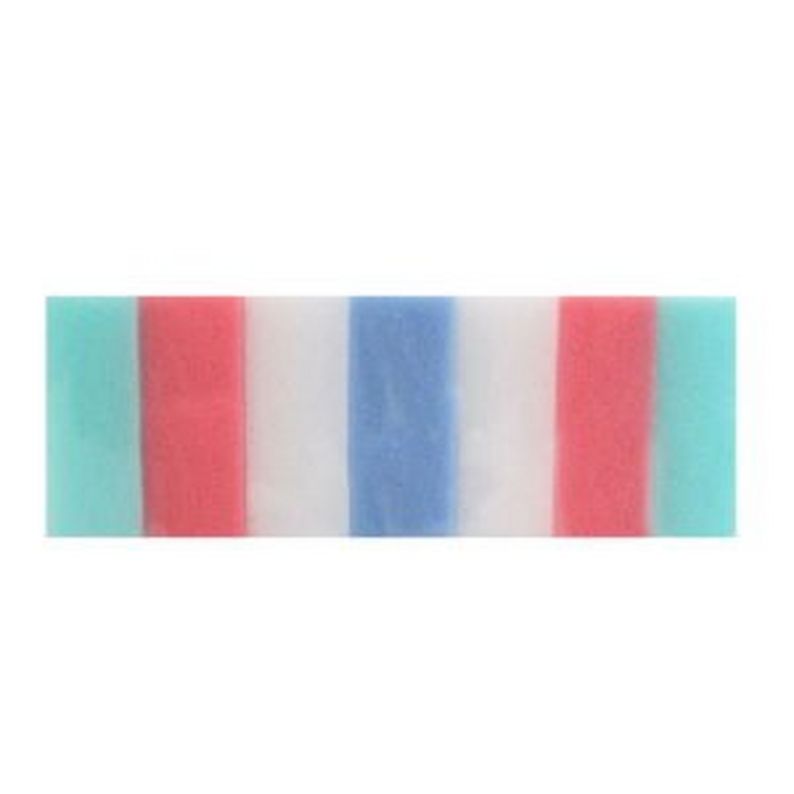
- 2 clean sponges.
- A sheath cleaner.

How?
If you’ve never cleaned a sheath, the process may be completely new to you. Here we’re going to cover everything you need to know!
Preparation
While it may seem like a simple task, there’s a few things we need to mention before you get started:
- Fidgety horses may require sedation. In which case, this whole process can be done by your vet.
- Choose a time when your horse is likely to be patient and relaxed.
- Avoid doing this alone. If your horse becomes difficult it may be helpful for someone to hold a front leg up so they can’t kick.
- Choose a setting away from distractions such as flies and other horses.
- It’s better to be safe than sorry, so always wear a riding hat. Some horses are particularly sensitive to this process. Even if your horse isn’t known to kick out, they may behave out of character.
- Always keep your head a safe distance away from your horse.
- The last thing we want to be doing is introducing bacteria to the sheath, so be sure to use clean examination gloves. Always swap gloves between horses if doing more than one.
- Check the water is not too hot or too cold. This could shock your horse and cause them to jump.
- Never use a product not designed specifically for the sheath. These are likely to be the wrong pH and may be too harsh, running the risk of irritation.
- Aim to use water based products. Oils can attract dirt, defeating the object entirely.
While your cleaning the sheath, don’t forget to keep an eye out for any abnormalities including:
- Signs of bleeding.
- Tumours.
- Cuts and lesions.
- Swelling.
- Foreign bodies.
Cleaning
Westover Vets: Guide on How To Clean Your Horse’s Sheath
- Dilute a sheath cleaner in warm water or apply the product to your hand. Only use the product neat if you are happy your horse will allow you to thoroughly rinse the area.
- Saturate the sponge with the solution or take your hand and run it around the outside of the sheath to remove any debris. This will also encourage your horse to drop their penis but don’t be concerned if they don’t.
- Now you’ve applied it to the outside, repeat the process inside the sheath, being careful not to press too hard. Work the product into the skin so it’s able to breakdown the dirt.
- With a clean sponge and fresh water rinse thoroughly, ensuring that no product left behind. This is really important as excess cleaner can irritate the skin.
We'd Recommend...

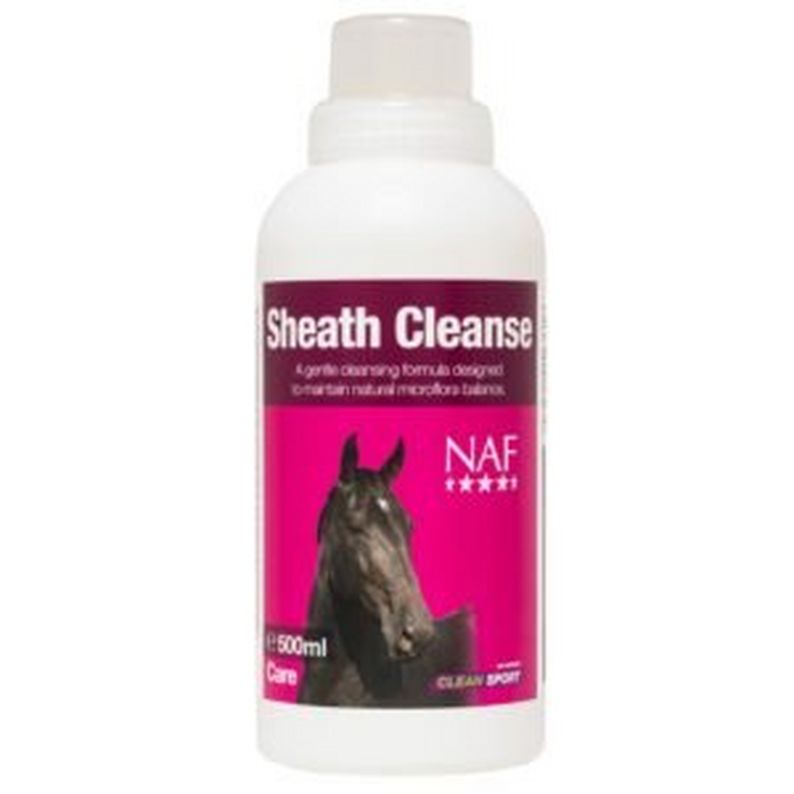
NAF Sheath Cleanse
Made from pure lanolin and castor oil to help soften and clean smegma build-up, dirt and grime whilst maintaining the body’s natural microflora balance and sebum levels.
Shop NowWe hope this blog has helped you prepare for cleaning your horse's sheath. If you have any further questions please give our customer service team a call on 1706 507 555 or reach out to us on social media. You can shop all of the products featured in this blog at Naylors.com or find your nearest Naylors store here.


