With competition season almost upon us we’ve been finding out how to create the perfect plait each time! Any seasoned competitor will tell you, plaiting is not always the easiest of task at hand - so it's best to get practising first!
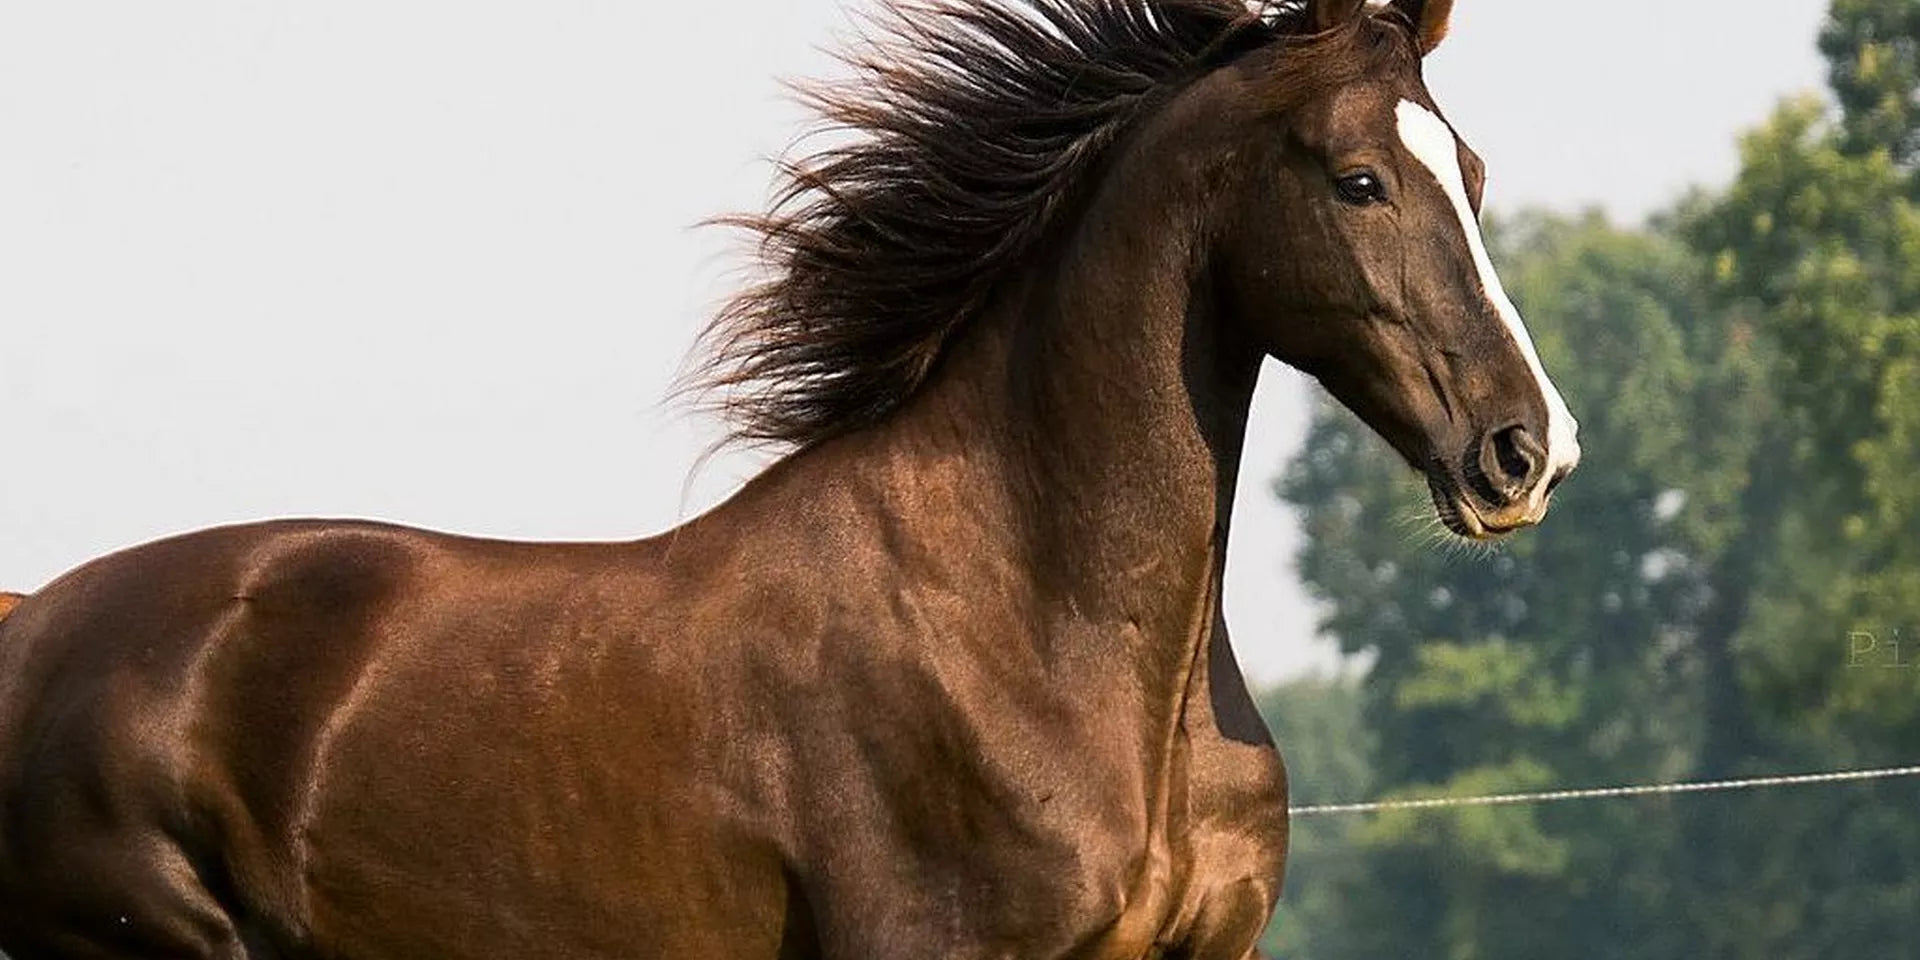
For those of us lucky enough to own native horses and ponies, it is generally expected for them to be turned out in their natural state. Thankfully, this means no (or little) thinning, trimming, pulling or plaiting. For the rest of us however, plaits are a must, whether you’re taking part in in-hand showing, or ridden showing. And although it isn't mandatory to plait your horse for show jumping, dressage or eventing, it is usually the done thing!
The ultimate optical illusion plaits are all about highlighting your horses strengths (and detracting from his flaws). From running to hunter plaits there are a whole range of types to choose from, each with a different purpose whether fashionable or functional. The most common type accepted in the majority of disciplines are hunter plaits.
What You'll Need:
Top Tip 1 - Have a grooming box or stand at hand so you can see up and over your horse depending on your horse's height!
Before Plaiting:
Wash & Brush
The first step to creating the perfect plait is to wash away dirt and debris. Once clean, brush through with a mane and tail brush or a fine toothed comb. Having a clean, knot free mane will make it much easier to work with.
Top Tip 2 - At this point, only use specific plaiting sprays and avoid mane and tail sprays as this will make the mane too soft to grip. The softer the mane is the less grip you will have. Plaiting sprays will make the mane soft but also tacky so you can grip the mane tightly!
Pulling & Thinning
Time for a tidy up! Now your horse's mane is clean and knot-free you’ll be able to get a better idea of it's length and thickness.
If your horse is in need of a haircut then the Solo comb and Solo Rake are about to become your new best friends! And are an easier and more gentler approach than traditional pulling combs. If you own a horse with pink skin or sensitive skin, these may be the best option for your horse.
Sectioning:
Top Tip 3: Your horse's mane should have an odd number of plaits. Generally, there should be nine - 13 plaits in the mane and one in the forelock.
If you’re unsure about the number of plaits your horse will need the best indication is his type and weight. Small delicate plaits are the norm for finer horses. Larger more substantial plaits are usually seen on heavier horses.

How To Section Evenly
The best way to create consistency in size of your plaits is to firstly separate the mane into nine, 11 or 13 sections. (Securing with a plaiting band). Once you've done this, use a comb and wrap a plaiting band around the bristles to an average size of one of your sections. This will be an indicator on how to ensure all your plaits are equal in size.
Plaiting:
Step 1 - Take the first section of your horses mane and apply plaiting spray. Work the spray through the hair to dampen it, reduce any stray ends and make it easier to grip.
Step 2 - Using your fingers split the hair in to three equal pieces. To plait the mane cross over the pieces ensuring that you’re pulling as tightly as possible all the way down.
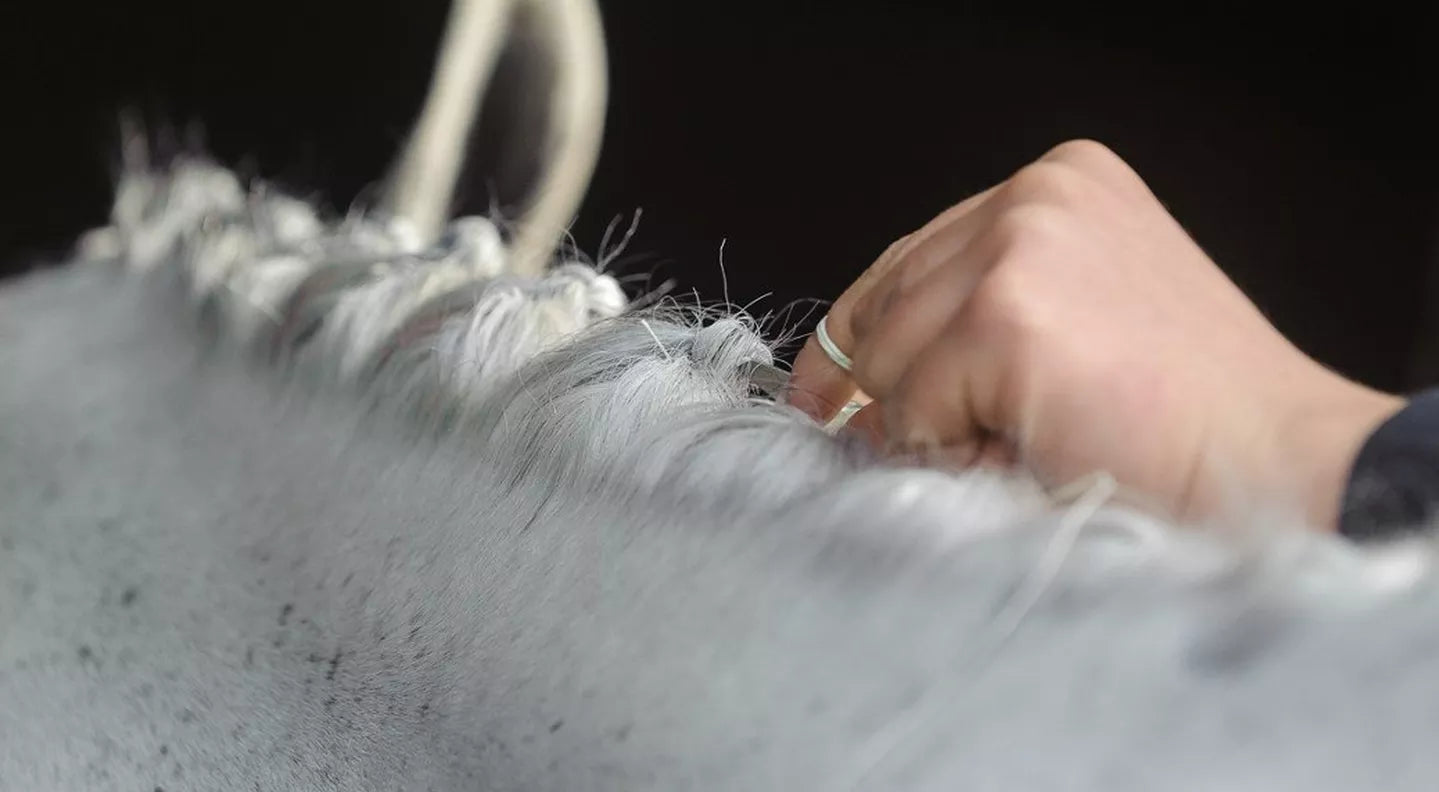
Step 3 - Once you reach the bottom of the plait you’ll need to secure it in place. If you’re in a rush, it’s easiest to do this with a plaiting band. For a neater and more professional finish it’s better to use a needle and thread.
Step 4 - To secure the plait with thread bring the needle up through the bottom of the plait. Sew around the plait and then back through the centre, repeat this once more to ensure it’s secure. To keep it neat and tidy twist any remaining stray hairs and fold them underneath the plait. Then repeat the process of sewing it in place.
Step 5 - Now that the bottom is secure take the needle and pass it inside and through the top of the plait from the underside. This will the fold the plait in half. Once you’ve reached the bottom take the needle and pass it back through the top of the plait to create a small ball. If your horse’s mane is quite long and it requires another folder, re-fold the plait again to create a small ball.
Step 6 - To hold the ball in place continue to pass the needle and thread through the plait repeatedly until it’s secure. Once your happy, run the thread back through your final stitch before trimming off any excess. You can then repeat this process with the remaining sections of hair. If your plait looks to plate and wide, you can wrap your thread around the plait to create more of a ball shape.
Step 7 - Once you’ve plaited all the way up the mane, finish off with plaiting spray to secure into place.
Plaiting The Forelock
Once you have completed your mane plaits, it’s now time to tackle the forelock! For the best and neatest result, it is best to french plait your horse’s forelock before sewing into place. However, if you’re unable to french-plait, just simply plait like usual ensuring all the hairs are tightly together. Then, again, sew the forelock the same way as you did with the mane.

Keeping Everything In Place!
Now, this may be the trickiest bit - keeping your horse's plaits in place!
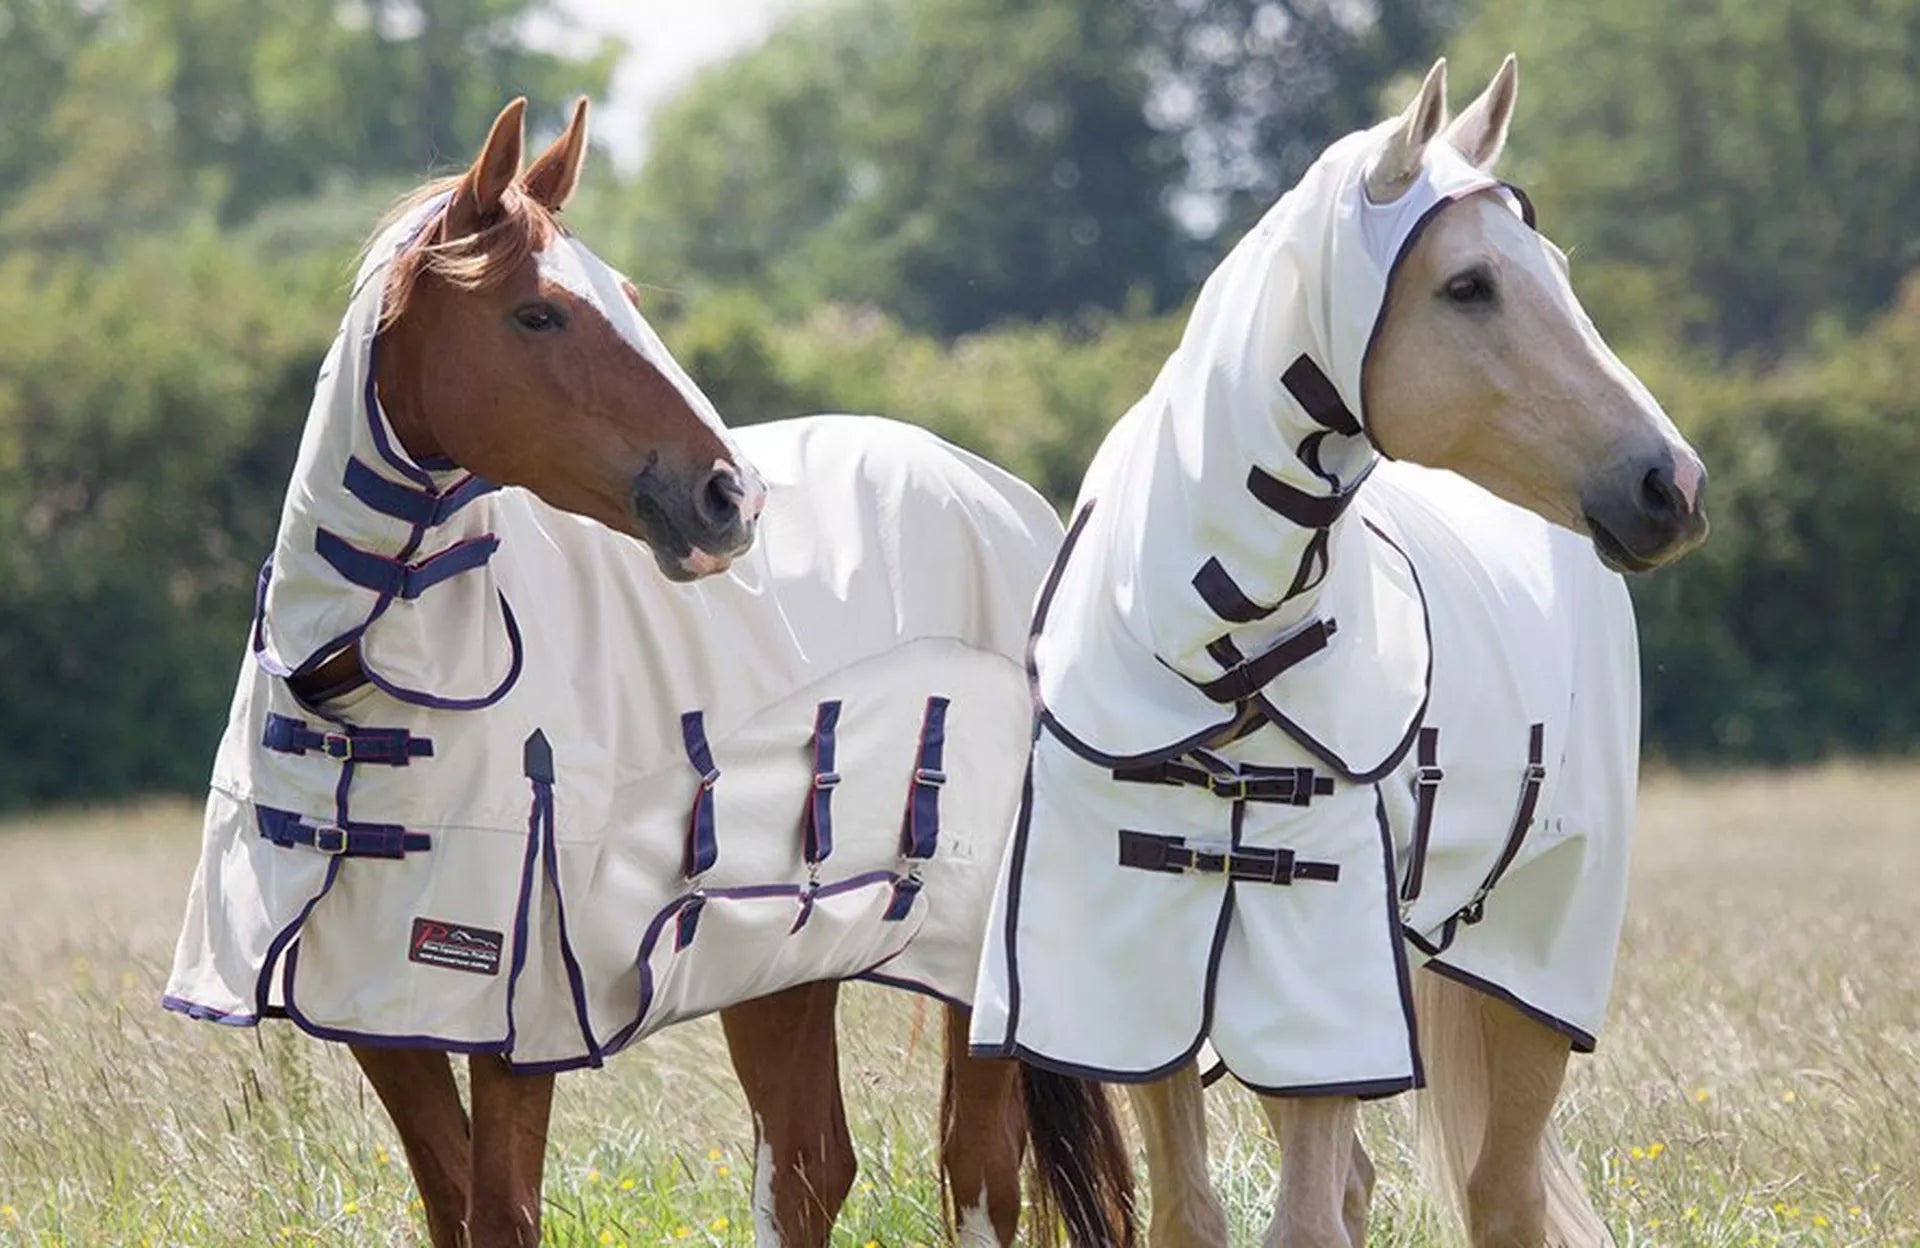
It is inevitable to ensure our horse's plaits will stay in overnight. So if possible it is best to plait your horse's mane in the morning, or just before the competition. (So make sure to give yourself plenty of time to plait!) If however, you are plaiting the evening before the competition, use a hood to keep the plaits flat and protected.
Top Tip 4 - If your horse likes to get up to all sorts during the night, give them something to keep them occupied! The best way to do this is with a treat ball or haynet ball.
And voila! Your horse is now perfectly turned-out for your big competition! If you have any of your own top-tips, please share in the comments below.